
A menu for a classic Southern-style weekend spread
Springtime is a favorite season for us. Everything is fresh, green and blooming. It reminds us of spending time outside, playing in the garden with our children and enjoying Easter. We wrote this month’s lunch menu with those holiday memories in mind.
When our kids were younger, we always enjoyed getting them involved in meal prep. These recipes bring the whole family together and involve them in every step of the process. The roasted garlic glaze, in particular, is an easy recipe to put together for the ham and a fun one for the little ones to help with. Though the flavors may seem a little advanced for younger palates, getting little hands involved in the cooking process is a wonderful way to entice children to become more adventurous eaters.
![]()
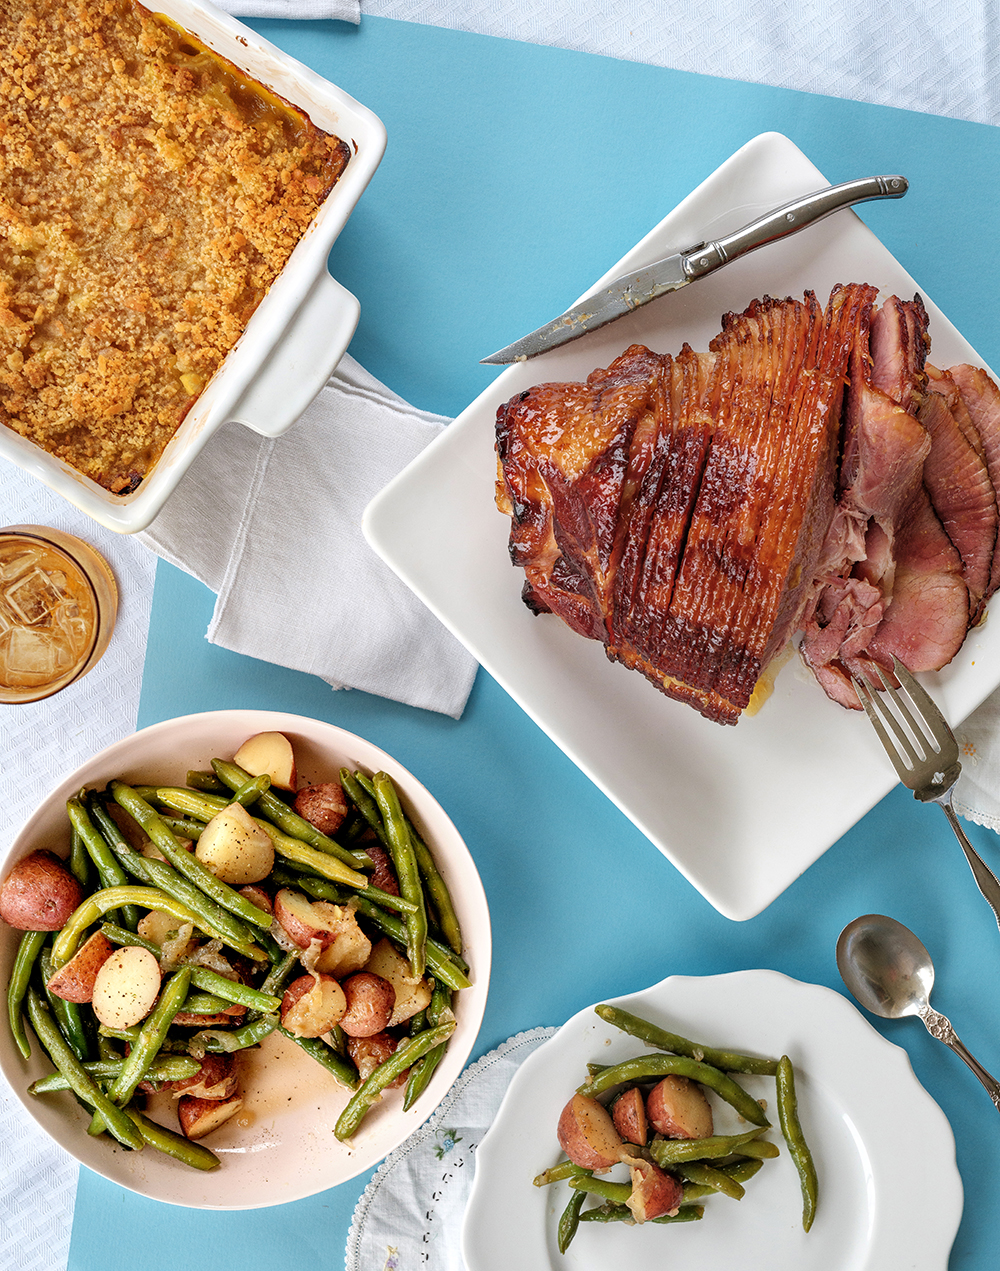
Baked Ham with Roasted Garlic Glaze
Shopping for the right ham can be a little overwhelming, with all the different ways they are labeled. Ham comes from the back thigh and rump of a pig. Generally speaking, the hams you find at the supermarket or butcher shops are cut down and sold in portions—either the shank end, which comes from the lower leg; or the top portion, which comes from the butt end. The shank tends to be less fatty and leaner, which also makes it a little tougher when cooked. However, it is easier to slice with just one bone in the center. The top portion is a bit fattier than the shank. A picnic ham is not technically a true ham cut, but actually comes from the front shoulder. It’s cured and smoked like a traditional ham, though.
Most hams are sold cured and smoked. Even though most are fully cooked, they still require being heated through to the recommended 140 degrees before serving. The size of the ham will determine baking time. Generally, that comes out to 15 minutes per pound to reach the perfect internal temperature.
Servings: 8
FOR THE HAM:
1 6- to 7-pound smoked ham of your choice
Roasted garlic glaze
1. Heat the oven to 300 degrees and remove the ham from the packaging.
2. Line a roasting pan with foil and place the ham in the pan. Cover the ham with more foil and put into the preheated oven.
3. Roast the ham 15 minutes per pound or until the internal temperature reaches 140 degrees.
4. Unwrap the ham and liberally brush it with the glaze.
5. Reduce the heat to 225 degrees and place the ham back in the oven for another 10 minutes. Remove from the oven and once again brush with more glaze.
6. Tent the ham with foil and allow it to rest for 10 minutes before serving.
FOR THE GLAZE:
1 pod fresh garlic
2 tablespoons olive oil
Kosher salt, to taste
2 cups apple jelly
2 tablespoons apple cider vinegar
2 teaspoons yellow mustard
1 teaspoon Dijon mustard
1. Heat the oven to 350 degrees.
2. Keeping the garlic pod intact, peel excess skin from the outside and trim the top to expose the cloves.
3. Line a small baking dish with foil. Place the garlic pod into the dish, drizzling with the olive oil and sprinkling with a pinch of kosher salt.
4. Roast in the oven for 20-25 minutes, or until the pod has become tender and golden in color. Allow it to cool.
5. Gently press the garlic pod to release all the cloves. (The cloves will be soft and should easily squeeze out.)
6. Place the cloves into a sauce pot. Add the apple jelly vinegar and mustards.
7. Turn the heat on to medium. Stir until the glaze begins to simmer, and the jelly is completely dissolved.
8. Remove the glaze from the heat and allow it to cool until you are ready to use it. Store any extra glaze in an airtight container in the refrigerator for up to 2 weeks. This glaze can be used on other cuts of pork, chicken, shrimp or salmon.
Smothered Green Beans with New Potatoes and Onions 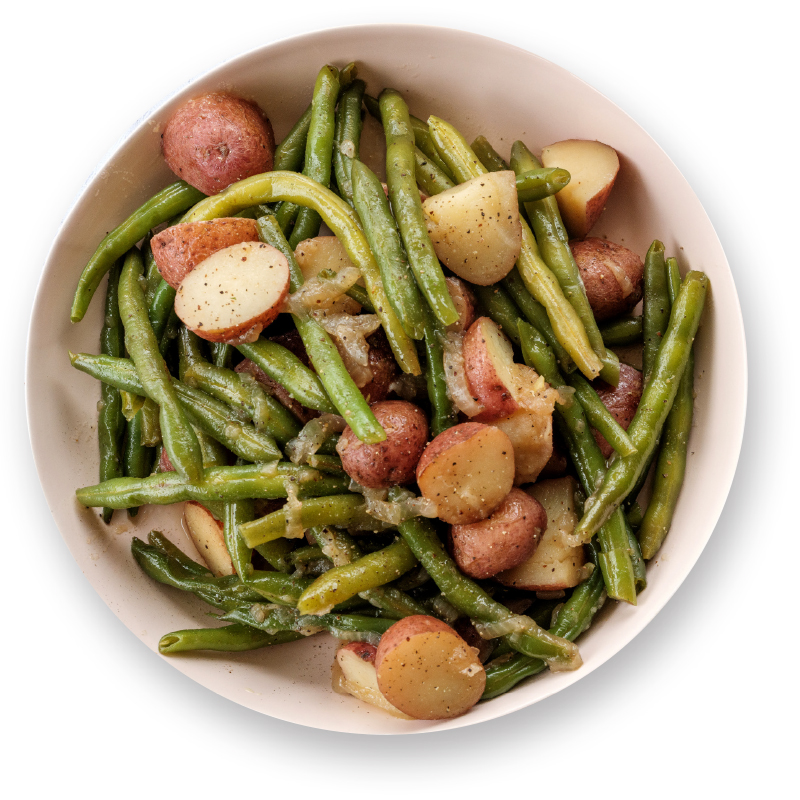
This is a favorite side for a crowd because it serves as both a vegetable and starch. It is also a lighter side to balance a holiday spread that otherwise might be dominated by heavier dishes. This time of year, when new potatoes and green beans are so fresh and tender, it does not take much for these veggies to shine.
Servings: 6-8
2 pounds fresh green beans, cleaned and trimmed
2 pounds new potatoes
1 cup thinly sliced sweet onion
2 tablespoons olive oil
1 teaspoon salt
½ teaspoon black pepper
2 cups low-sodium chicken broth
1. Trim the tips off the green beans and rinse them. Leaving the skin on the new potatoes, cut them in halves or quarters, depending on their size.
2. Heat the olive oil in a large skillet. Sauté the sliced onions 2 to 3 minutes or until they have become soft and translucent.
3. Add the new potatoes, salt and pepper and continue cooking another 2 to 3 minutes, stirring to prevent the potatoes from sticking. Pour in the chicken broth and allow the mixture to come to a boil.
4. Reduce the heat to a simmer and add in the green beans. Simmer the green beans and potatoes for 10 to 15 minutes, or until the potatoes are tender and the green beans are soft but still hold their shape.
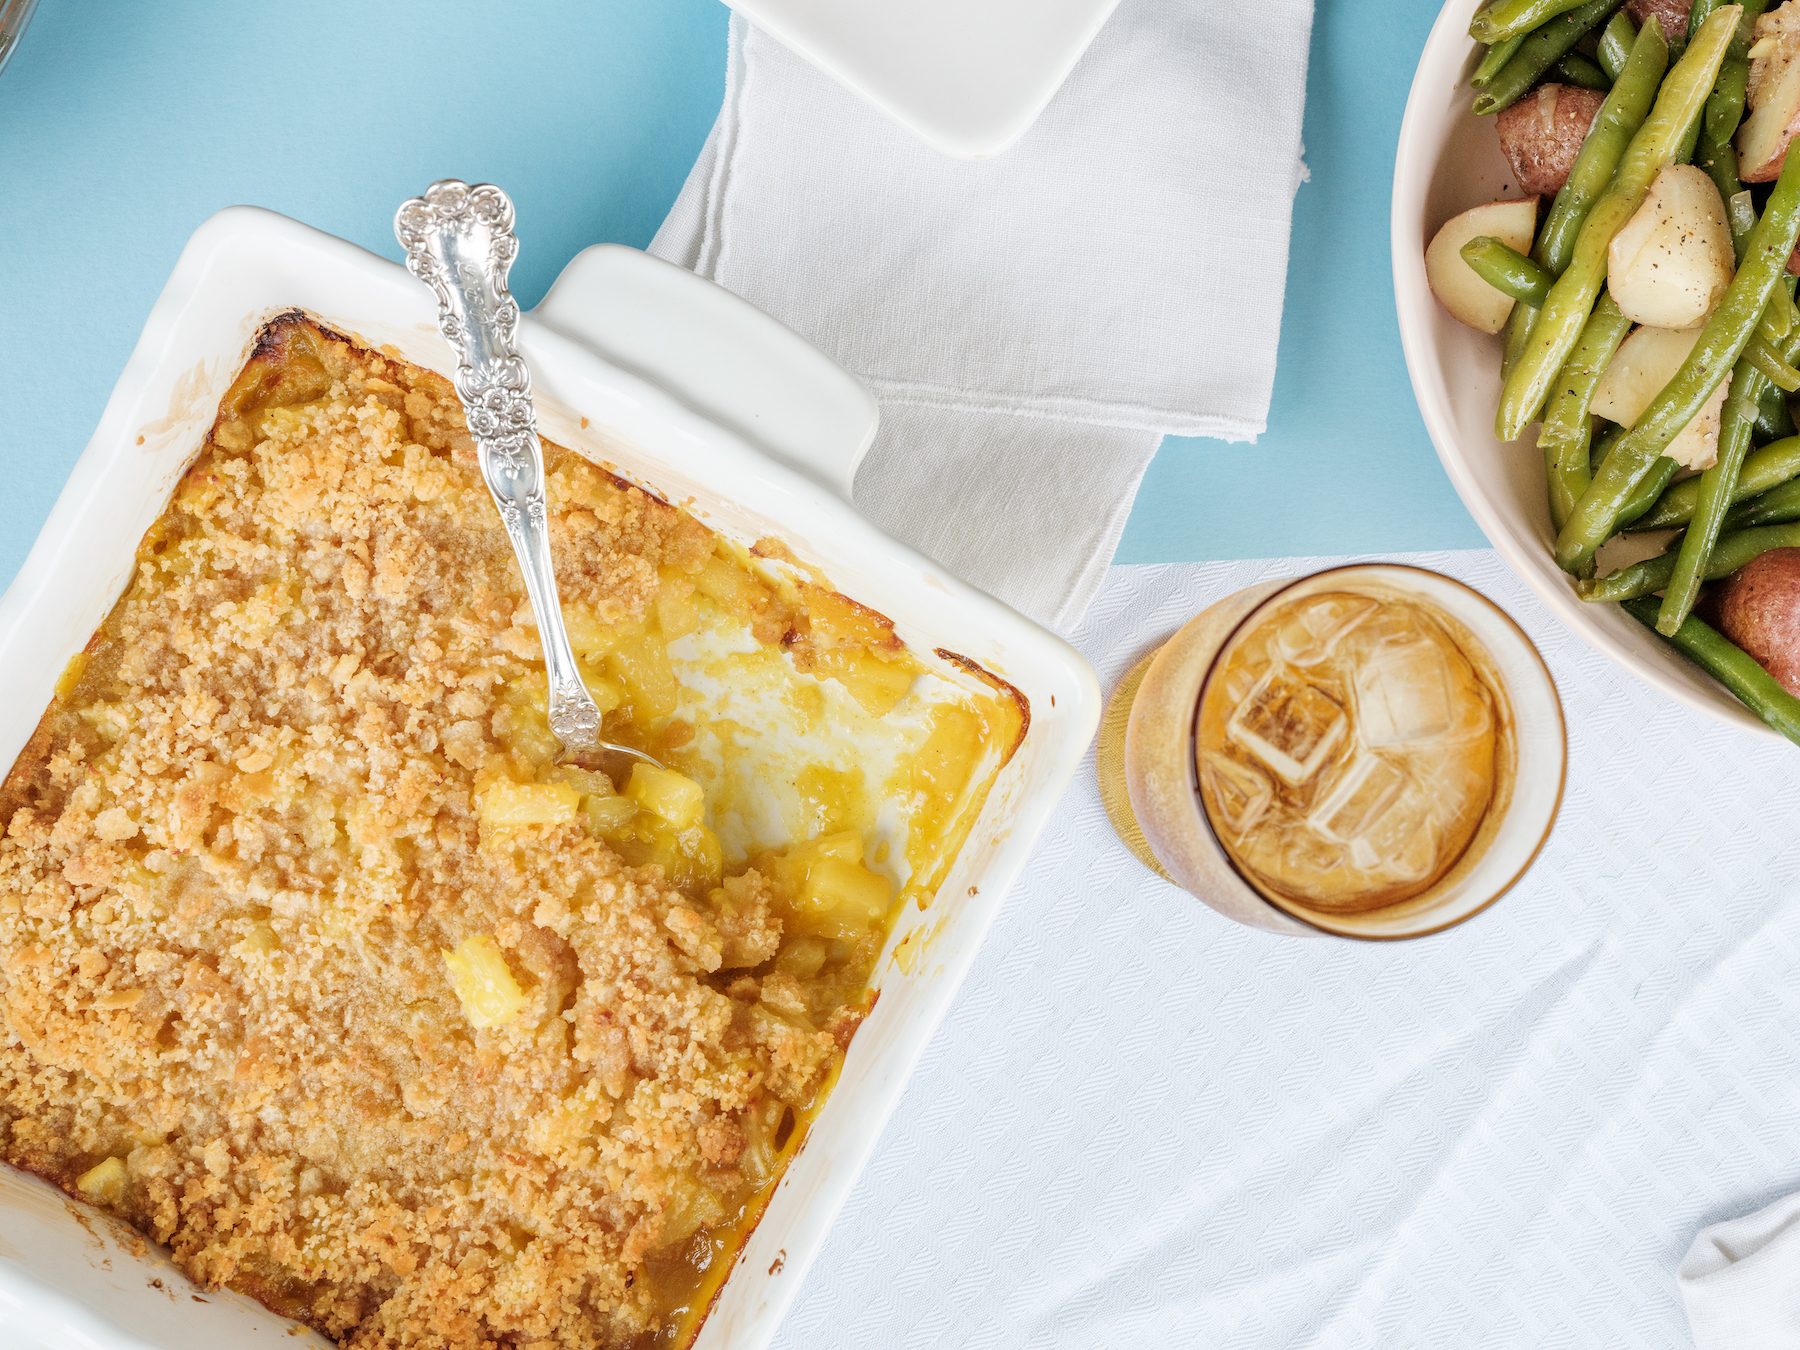
Southern Baked Pineapple Casserole
This is a retro dish that has been around for quite some time. We aren’t sure where it originated or even why because the ingredients don’t sound like they would go together. However, the combination of tangy pineapple and nutty cheddar cheese makes this a side worth trying. The sweet yet savory flavor combination perfectly complements the smoky ham. We updated this Southern classic by adding a touch of curry powder and using some brown sugar in place of white sugar. We felt these additions gave the dish a more complex flavor profile while keeping its classic Southern appeal.
Servings: 8
2 20-ounce cans of pineapple tidbits, packed in juice
½ cup reserved pineapple juice
¼ cup brown sugar
½ cup white sugar
1 cup grated white sharp cheddar cheese
3 tablespoons all-purpose flour
2 teaspoons curry powder
4 tablespoons melted butter
1 cup crumbs of Ritz or Club butter crackers
1. Heat the oven to 350 degrees.
2. Drain the canned pineapple, reserving ½ cup of the juice.
3. In a large mixing bowl, combine the pineapple (with the reserved juice), brown and white sugar, shredded cheddar cheese, flour and curry powder and mix until well combined.
4. In a smaller mixing bowl, combine 3 tablespoons of the melted butter along with the crushed butter crackers until the mixture resembles wet sand.
5. Use the remaining tablespoon of melted butter to grease an 8×8-inch casserole dish. Pour the pineapple mixture into the prepared dish and sprinkle the buttered cracker crumbs over the top.
6. Bake the pineapple casserole for 25-35 minutes or until the top is golden and the casserole is bubbling. Serve warm as a side dish to the glazed ham.
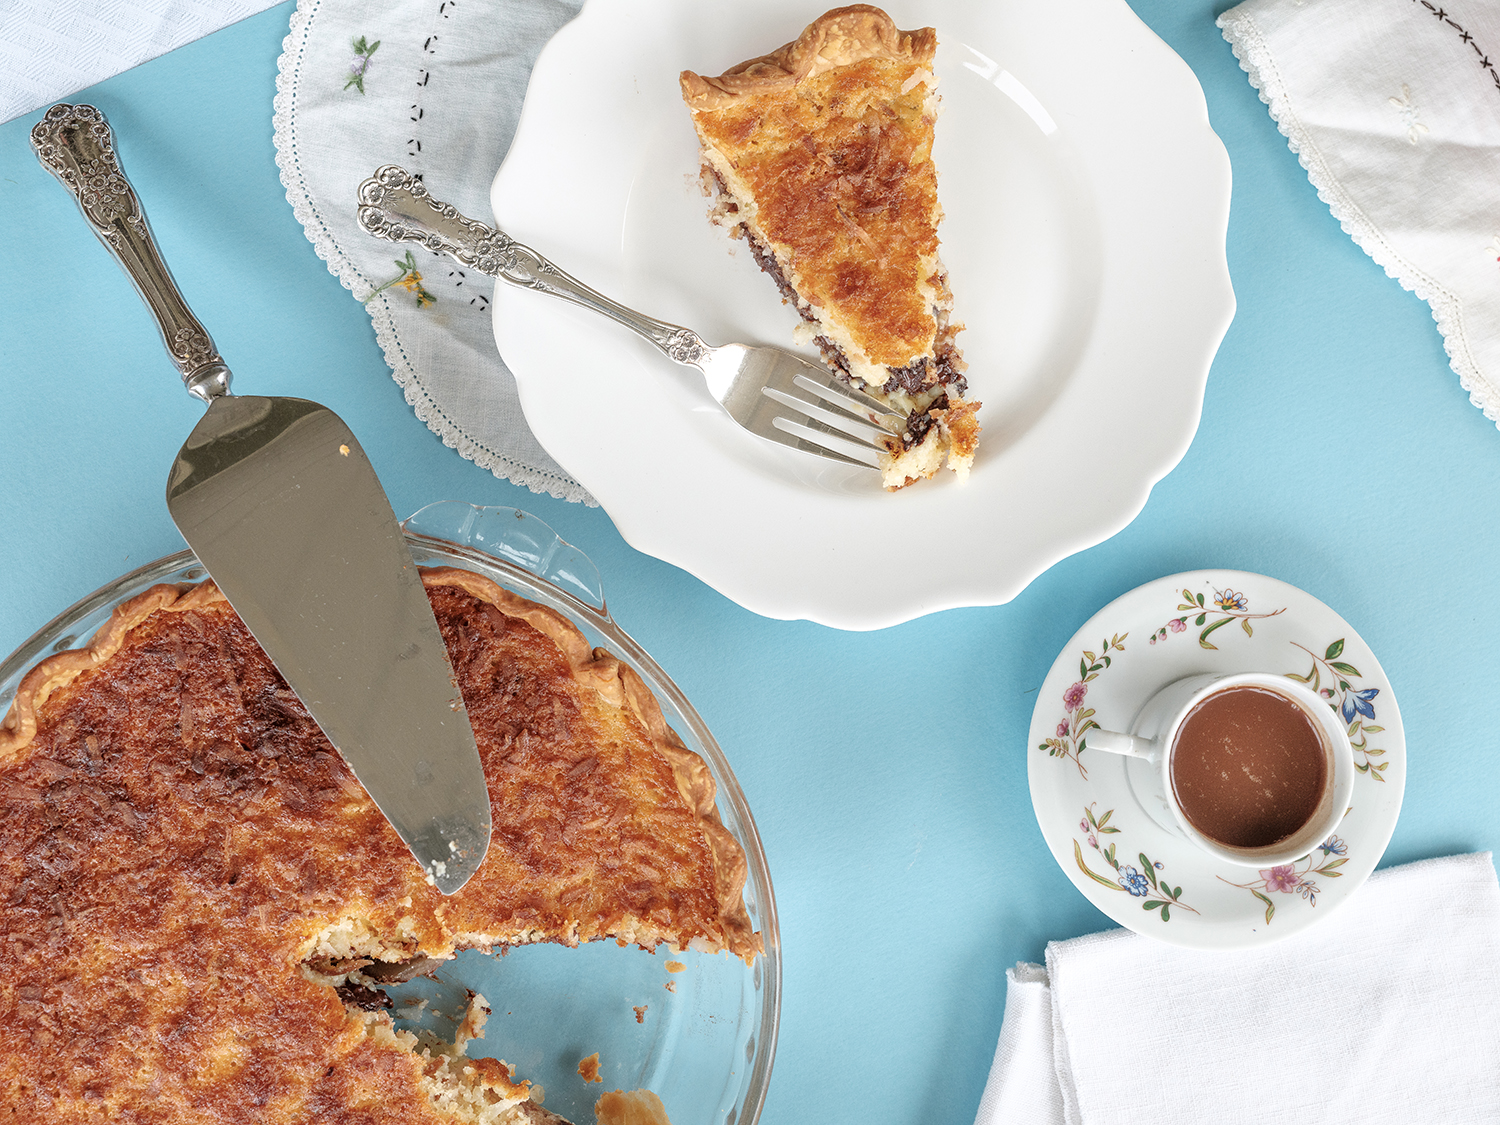
Buttermilk Pie with Toasted Coconut and Dark Chocolate
Coconut desserts and Easter go hand in hand, and this pie is a quintessential dessert to please any sweet tooth. The toasted coconut is combined with creamy and slightly tangy buttermilk and rich dark chocolate, which makes it the perfect way to end any meal. It is easy to prepare using a readymade pie crust, plus it can also be made several hours ahead of time. Our kids always loved baking with us in the kitchen. This pie is a great recipe to make with your family—the steps are not too involved, but there are enough things to keep curious little cooks engaged. Mixing and measuring are all great ways to practice basic math, reading and fine motor skills all at the same time.
Servings: 8
1 9-inch, readymade pie crust
1 stick of butter, softened
1 cup sugar
¼ teaspoon salt
3 tablespoons flour
3 eggs
1 cup buttermilk
2 teaspoons vanilla
1 cup toasted coconut flakes
1 cup dark chocolate chips
1. Heat the oven to 350 degrees and press the readymade pie dough into a 9-inch pie plate.
2. In a large mixing bowl, cream together the softened butter and sugar until smooth. Add the salt and flour, and stir until well combined.
3. In a separate mixing bowl beat the eggs until frothy. Add them into the sugar-butter mixture and stir until well combined. Fold in the buttermilk, vanilla, coconut and chocolate chips.
4. Pour the mixture into the pie shell. Bake in the oven for 30 to 40 minutes or until the top is golden and a tester poked into the center of the pie comes out clean.
5. Allow the pie to cool for about 15 minutes before serving.
How to make it a feast
This simple menu can be paired with many other 225 recipes for a grander holiday spread. Some other dishes to add to this menu:
- Savory Rosemary Scones
- Sauteed Spring Peas with Garlic and Mint
- Spring Salad with Roasted Beets and Oranges
Find more recipes at 225batonrouge.com/recipes.
This article was originally published in the April 2021 issue of 225 Magazine.
