
Ideas for nostalgic sweets and an easy dinner to serve once trick-or-treating is over
The weather is finally cooling off, and people are enjoying the outdoors. It’s the perfect time of year for casual entertaining.
This festive fall menu is themed for a retro Halloween party. We adapted and updated some of our favorite treats from childhood, making them healthier and taking out the preservatives that were so prevalent in the 1970s. Best of all, these recipes are simple to prepare and can be done ahead of time.
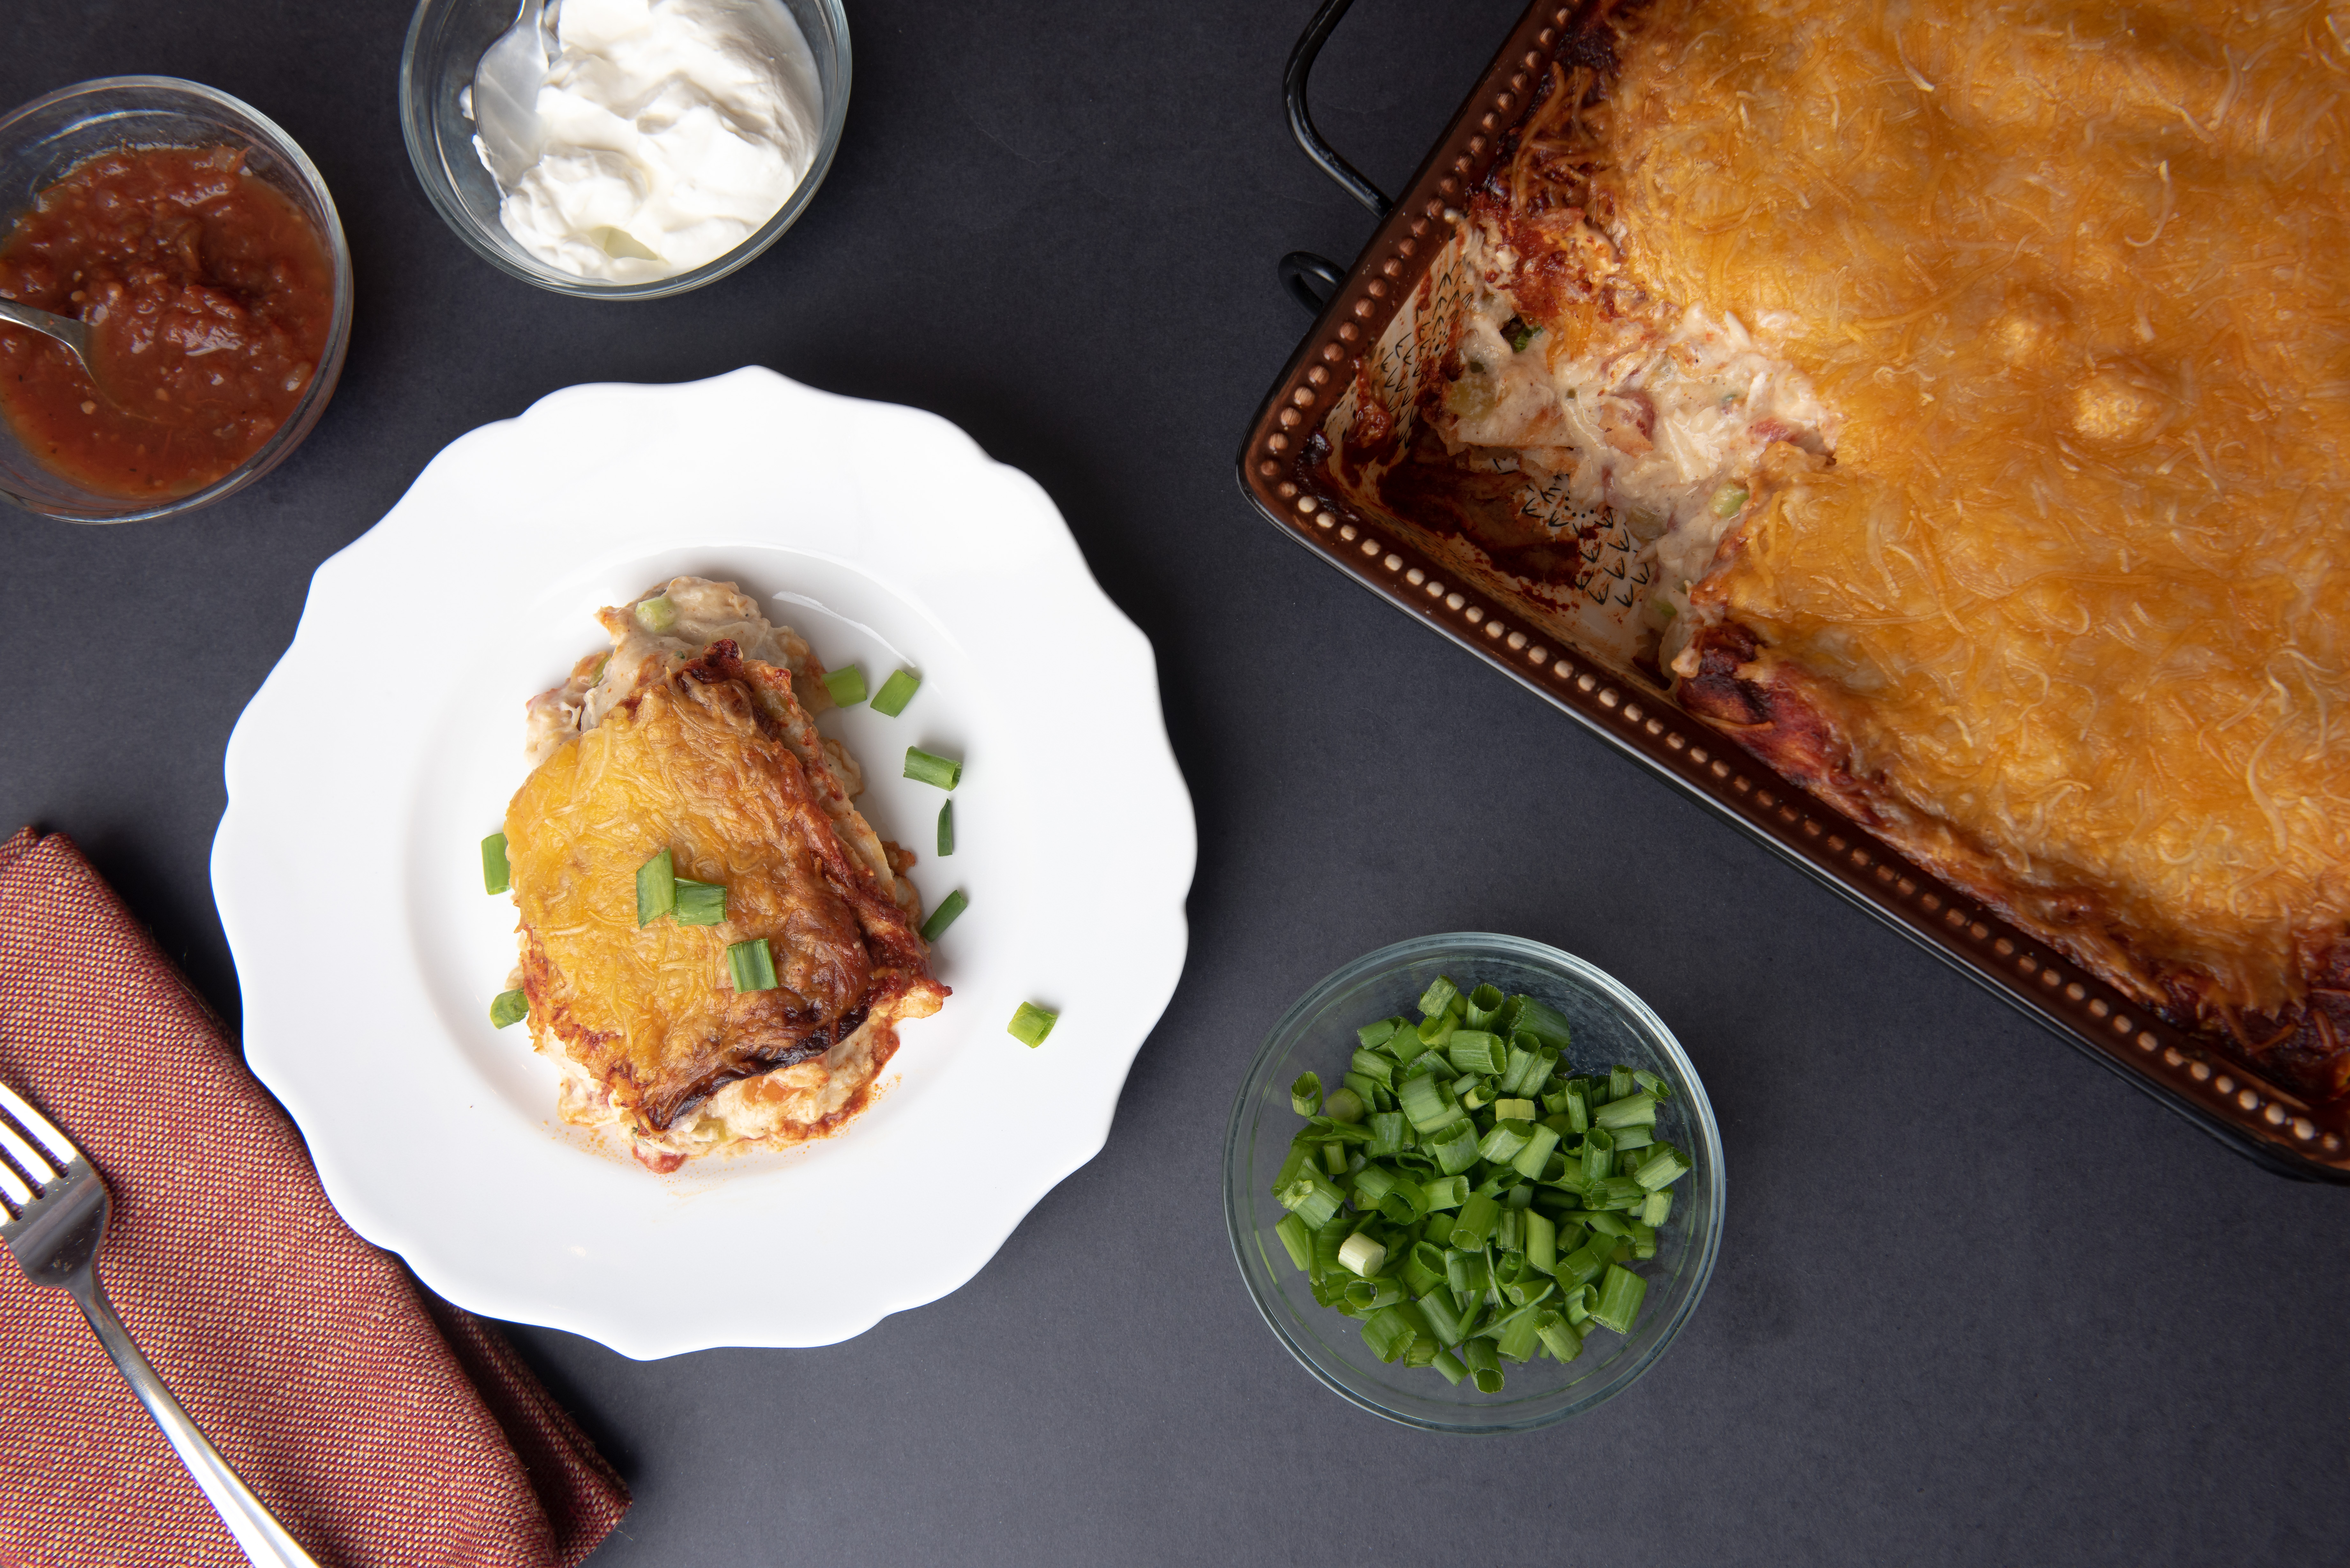
Chicken enchiladas are a favorite of ours, and to make them even easier we turned them into a casserole. It uses roasted chicken—a staple for our families—along with corn tortillas and store-bought enchilada sauce. It has just the right amount of heat, and it’s a hearty and satisfying dish on a cool, crisp fall evening. It is the perfect dish to make ahead and serve your family and friends before or after they embark on an evening of trick-or-treating.
ON THE MENU:
• Chicken Enchilada Casserole
• Three-ingredient Honey-Peanut Butter Taffy
• Homemade Devil Dogs
• Salted Caramel Apples
Recipes by Tracey Koch
CHICKEN ENCHILADA CASSEROLE
This take on enchiladas doesn’t require meticulously rolling the filling in tortillas. As a casserole, it’s built in layers and can be made a day in advance of baking. Using store-bought roasted chicken and canned enchilada sauce cuts a lot of time out of the process—so you can spend more time enjoying making the treats with your family.
Servings: 10 to 12
2 roasted chickens
4 tablespoons butter
4 tablespoons flour
4 cups warm milk (whole or low-fat)
1 can diced tomatoes
1 teaspoon salt
1 teaspoon cumin
1 teaspoon chili powder
½ teaspoon garlic powder
½ teaspoon onion powder
2 cups shredded pepper jack cheese
1 cup fresh chopped spinach
2 15-ounce cans medium-spice red enchilada sauce
20 corn tortillas
2 cups shredded sharp cheddar cheese
Your choice of garnishes (sour cream, green onions, salsa, etc.)
1. Take the chicken off the bone. Cut it into bite-size pieces. Place in a bowl and set aside.
2. In a large sauce pot, heat the butter. Add the flour, and cook over medium heat for 3 to 4 minutes.
3. Whisk in 4 cups of warm milk. Keep whisking until it becomes smooth and the sauce thickens and coats the back of a spoon.
4. Fold in the tomatoes, seasonings and shredded pepper jack cheese. Keep stirring until the cheese is melted. Fold in the chicken and turn off the heat. Add the chopped spinach. Allow the mixture to cool some before assembling the casserole.
5. Cut 12 to 15 of the corn tortillas into fourths.
6. Spray a 9-by-13 casserole dish with a little cooking spray. Pour one can of the red enchilada sauce into the bottom of the dish.
7. Layer half the cut tortillas on top of the sauce and a little up the sides of the dish.
8. Spoon the chicken filling over the layer of tortillas and spread evenly.
9. Pour the second can of enchilada sauce over the chicken filling. Place a second layer of cut tortillas over the sauce (cut up more tortillas if you need). Top the casserole with the 2 cups of sharp cheddar cheese.
10. When you are ready to bake, heat the oven to 350 degrees. Allow the casserole to come to room temperature.
11. Lightly cover the casserole with foil and bake for 30 to 35 minutes.
12. Remove the foil and continue baking for another 10 to 20 minutes or until the cheese is melted and the casserole is bubbling.
13. Let the casserole sit for 5 minutes before serving. Serve with sour cream, chopped green onions and salsa.
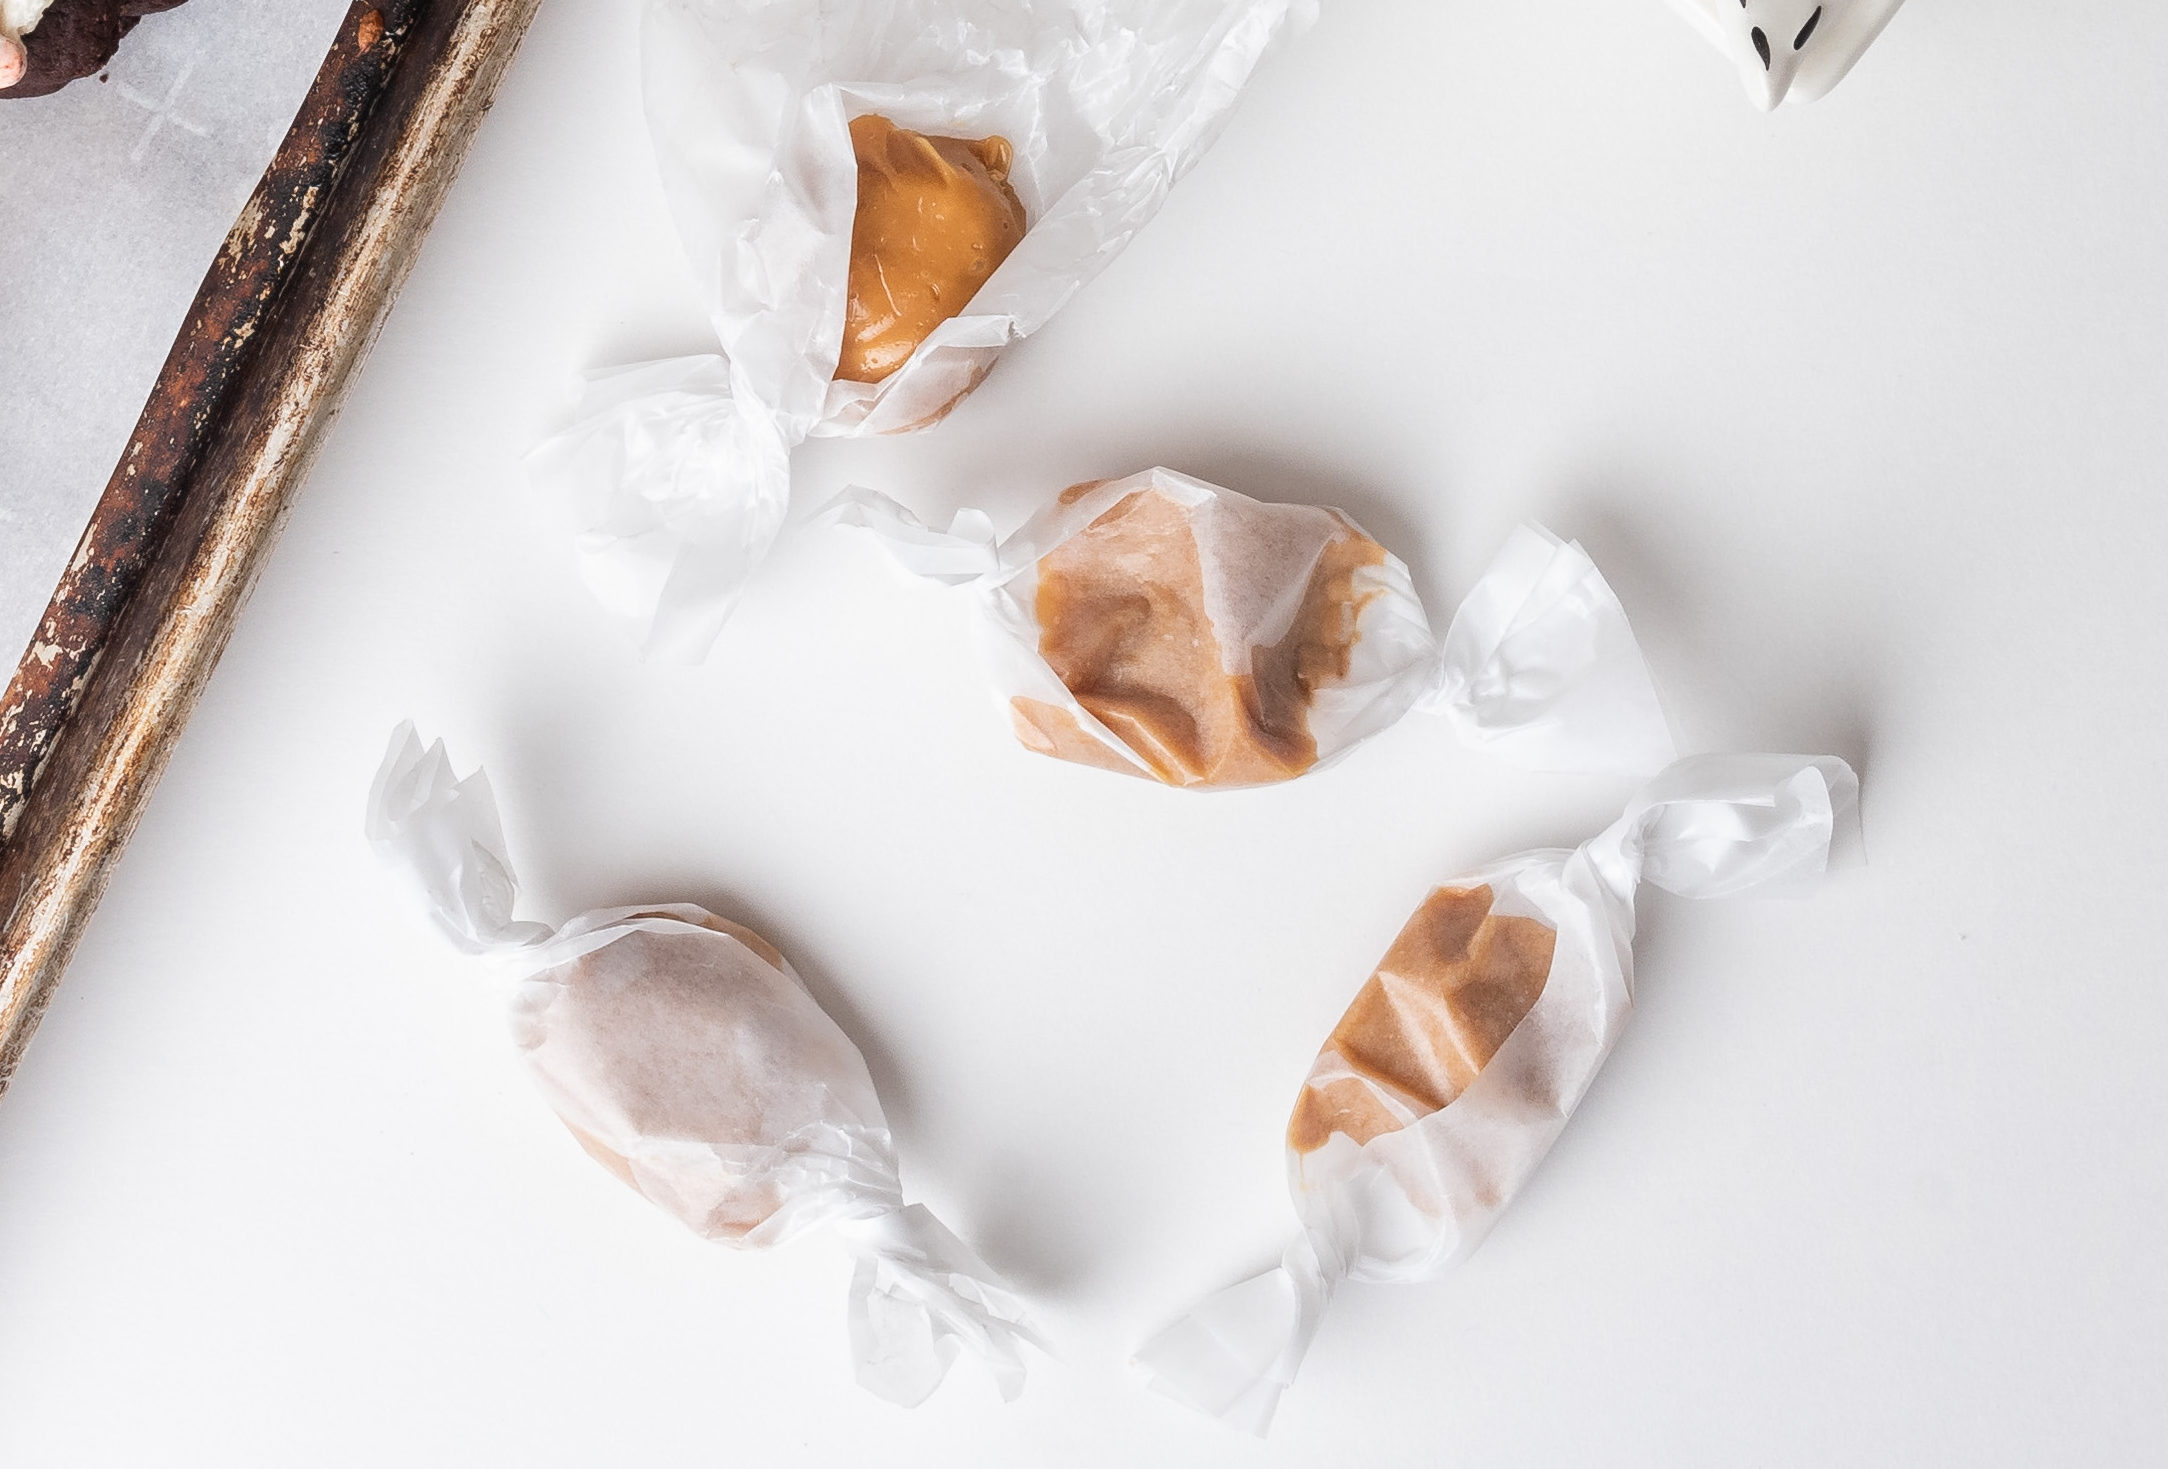
THREE-INGREDIENT HONEY-PEANUT BUTTER TAFFY
Taffy is one of those treats that makes us think about childhood in New Orleans. When the Roman Candy horse-drawn cart would come around our neighborhood, it was always so exciting. It was really a piece of history that we knew even as kids was fleeting. The soft, sticky and sweet taffy wrapped in wax paper is one of our fondest memories. So when Tracey came across this recipe online for taffy made from only honey, she had to give it a try. Tracey added crushed salted peanuts to give it a bit more texture and balance out the sweetness. The end result is not unlike another throwback candy from our past: the peanut butter chews wrapped in black and orange wrappers we would get while trick-or-treating. This is an easy and all-natural candy that everyone will enjoy making and eating.
Recipe adapted from Gina Kleinworth.
Servings: Yields 18 1-inch pieces
½ cup honey
2 tablespoons peanut butter
¼ cup finely chopped roasted salted peanuts
1. Line a baking sheet with parchment and spray it with cooking spray.
2. In a medium nonstick sauce pot, heat the honey to a rolling boil.
3. Continue boiling until the temperature reaches 280 degrees on a candy thermometer.
4. Quickly and carefully pour the hot honey onto the prepared baking sheet. Cool for 20 minutes.
5. Spray your hands with cooking spray, and pull and twist the honey taffy until it begins to get light in color and stiffen up.
6. Place the taffy back onto the parchment paper. (Be sure to work on a flat surface.)
7. Use a rolling pin to roll the taffy into a thin rectangle. Spread the peanut butter in an even layer down the middle.
8. Sprinkle the chopped peanuts over the peanut butter. Fold the ends up and then begin rolling the sides over the peanut butter to form a log.
9. Roll the log until it is 18 inches long. Use a butter knife to cut 1-inch pieces. Wrap each piece in little squares of waxed paper. Store at room temperature.
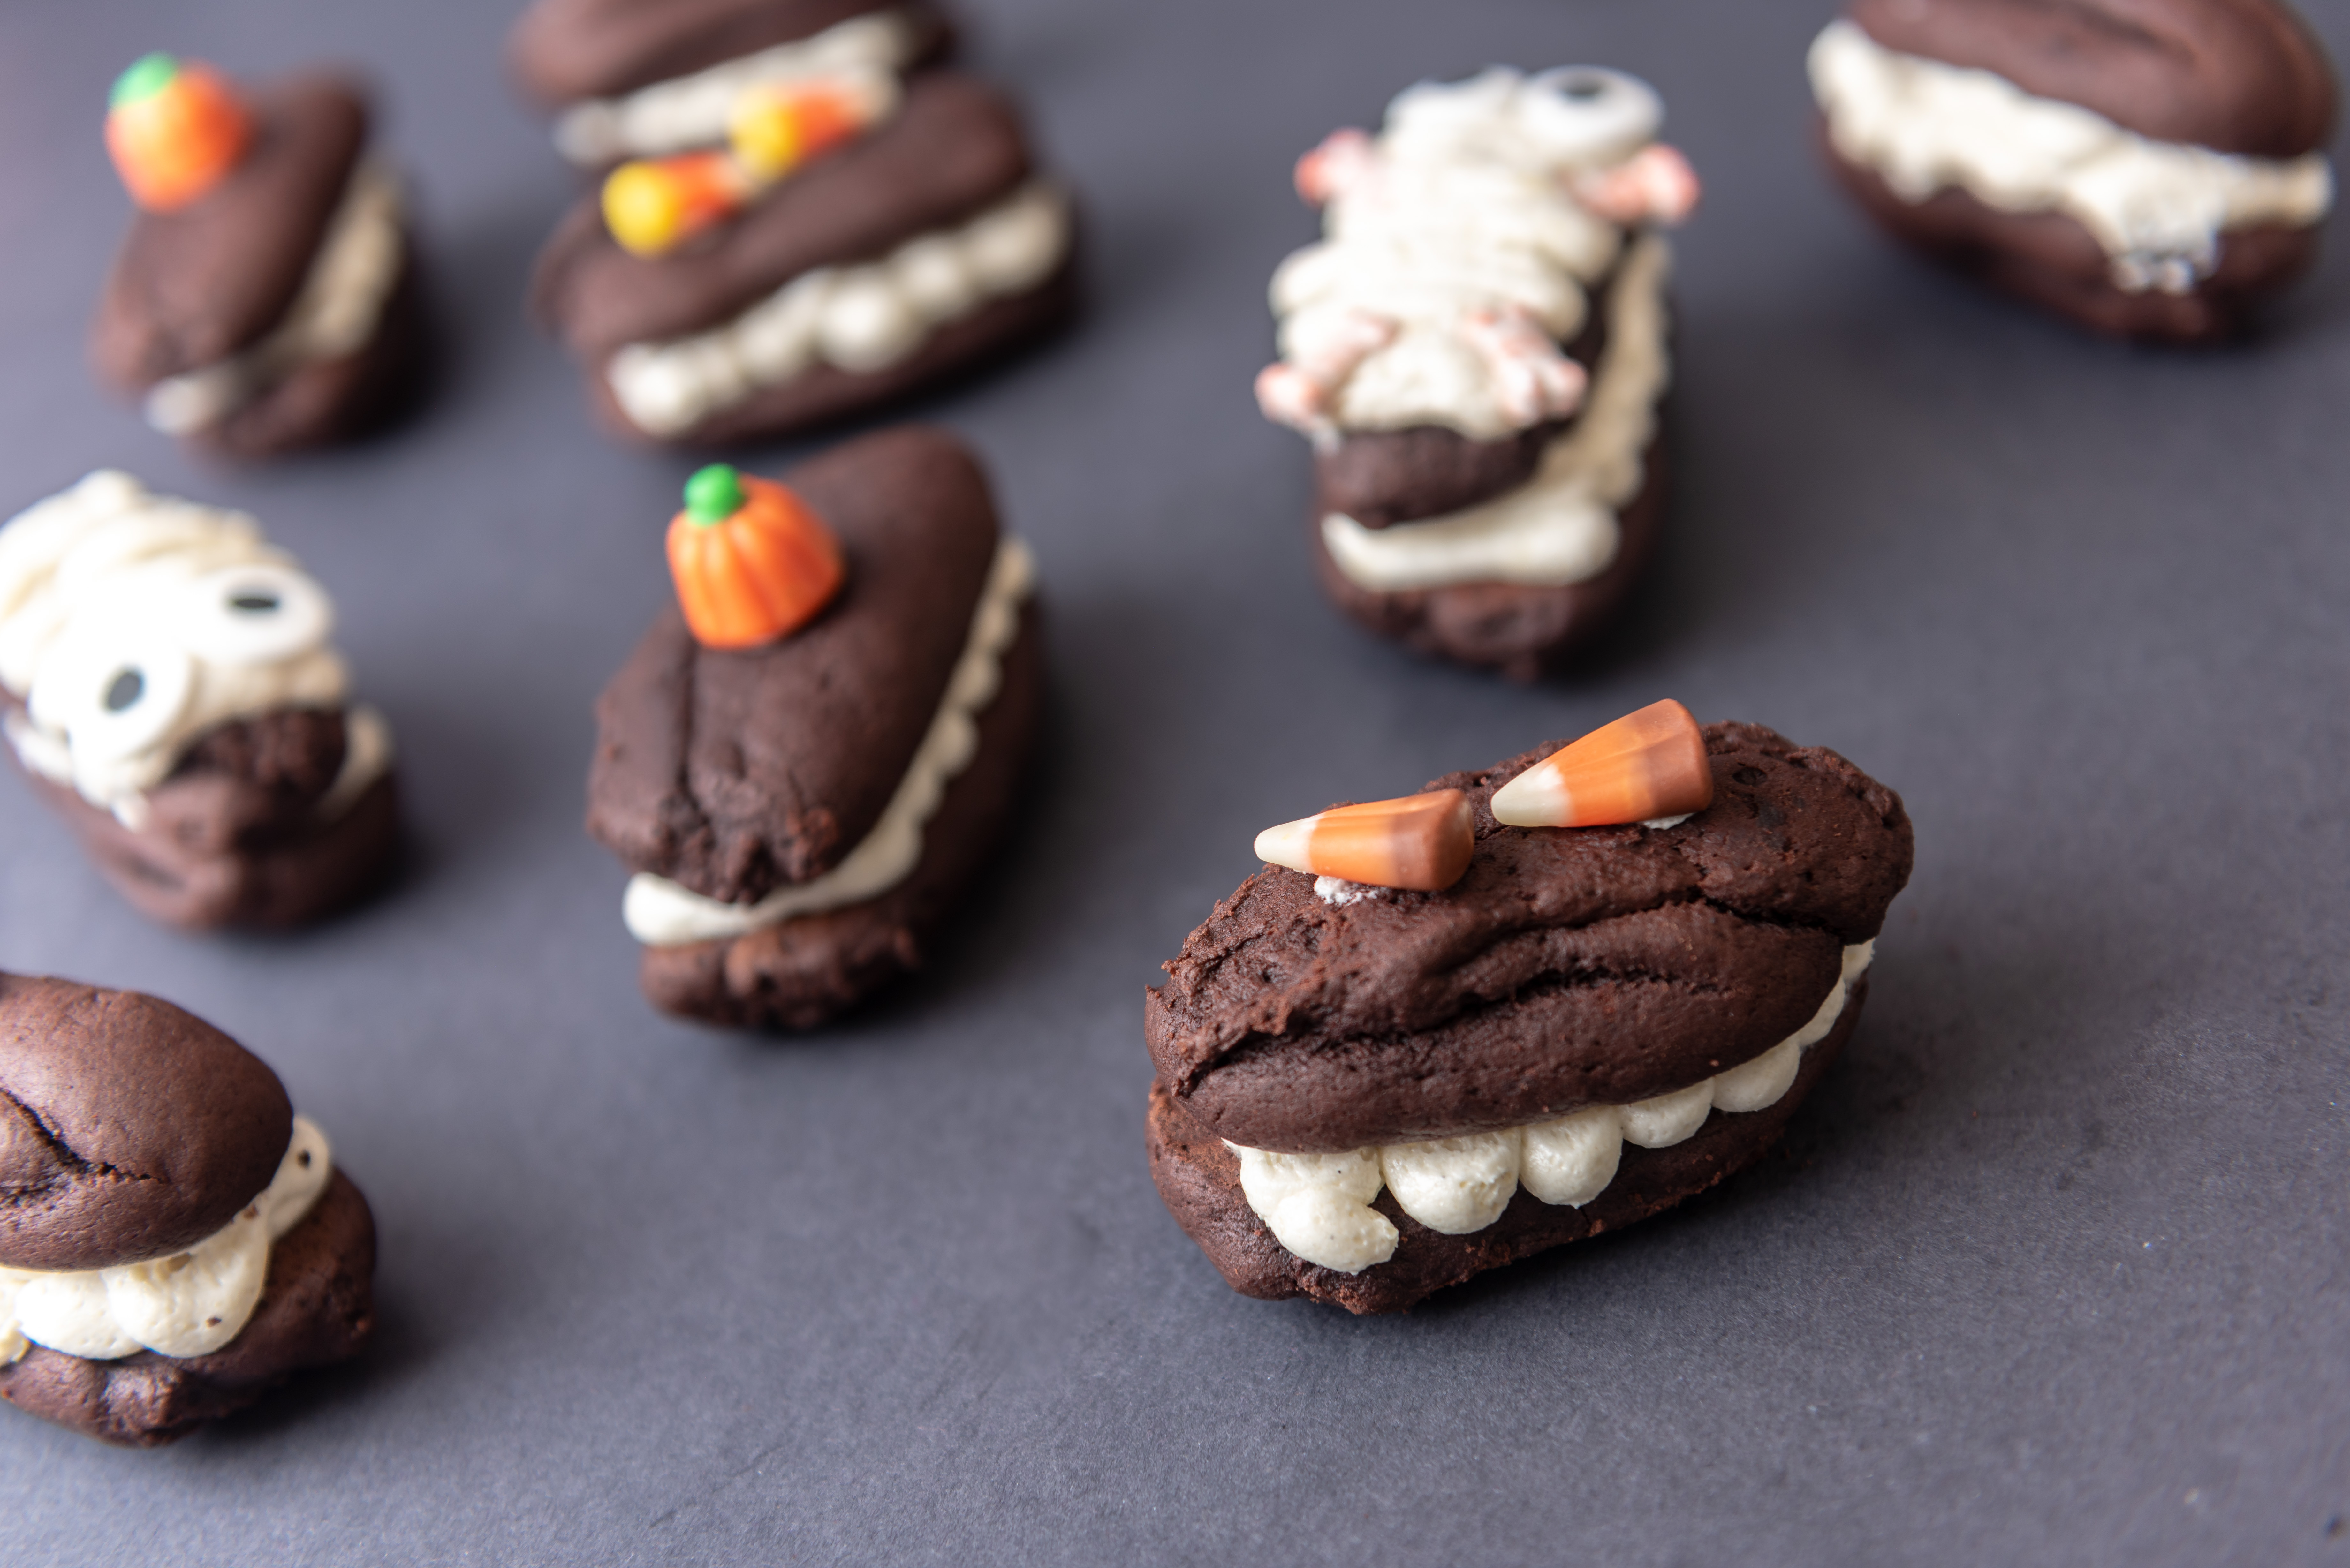
HOMEMADE DEVIL DOGS
Devil dogs are a chocolate cake treat that is much like an oblong whoopie pie. Made from a dense chocolate cake and light creamy filling, this recipe is a perfectly balanced sweet treat to feed the kid in all of us. We decided to enhance the vanilla flavor in the fluffy white filling by using vanilla bean along with pure vanilla extract, and the end result was delicious. We decorated them with a bit of Halloween candies, but you could make them a little more fancy by drizzling them with some dark chocolate and topping them with a fresh raspberry or two.
Servings: Yields 12
For the cake:
1 stick softened butter
1 cup light brown sugar
1 egg
2 cups flour
½ cup cocoa powder
¼ teaspoon salt
1½ teaspoons baking soda
1 teaspoon baking powder
¼ cup black coffee
½ cup whole or low-fat milk
1 tablespoon vanilla extract
1. Use an electric mixer to cream the softened butter and brown sugar until fluffy.
2. Add the egg and continue beating.
3. In a separate mixing bowl, sift the flour, cocoa powder, salt, baking soda and baking powder together.
4. With the mixer still going, add the coffee and milk to the butter-egg mixture until combined.
5. Carefully add the dry ingredients to the wet and continue mixing until well combined. Scrape down the sides of the bowl and add the vanilla extract. Mix for a few more seconds.
6. Heat the oven to 350 degrees and line 2 baking sheets with parchment paper. Fill a pastry bag fitted with a large round tip with the devil dog batter.
7. Pipe 24 (4-inch) strips of the batter onto the lined baking sheets and bake them for 8 to 10 minutes or until a tester comes out clean.
8. Allow the devil dogs to cool completely before filling.
For the filling:
1 vanilla bean
1½ cups whole or low-fat milk
3 tablespoons flour
Pinch of salt
1 stick softened butter
¾ cups sugar
1 tablespoon vanilla extract
1. Split the vanilla bean down the middle. Use the back of a knife to scrape out the seeds. Stir them into the milk.
2. In a sauce pot, whisk the milk, flour and salt over medium heat until smooth.
3. Continue stirring the mixture over medium heat until it forms a thick paste. Turn off the heat and place the paste in a small bowl. Refrigerate to chill completely.
4. Place the softened butter in a bowl and use an electric mixer to beat the butter and sugar together until light and creamy.
5. Add the chilled paste and vanilla extract to the butter-sugar mixture and continue beating until fluffy.
6. Use a pastry bag to pipe the filling on top half the devil dog cakes. Top each with the second devil dog cake. Decorate with a little sprinkle of powdered sugar and Halloween candies, and serve.
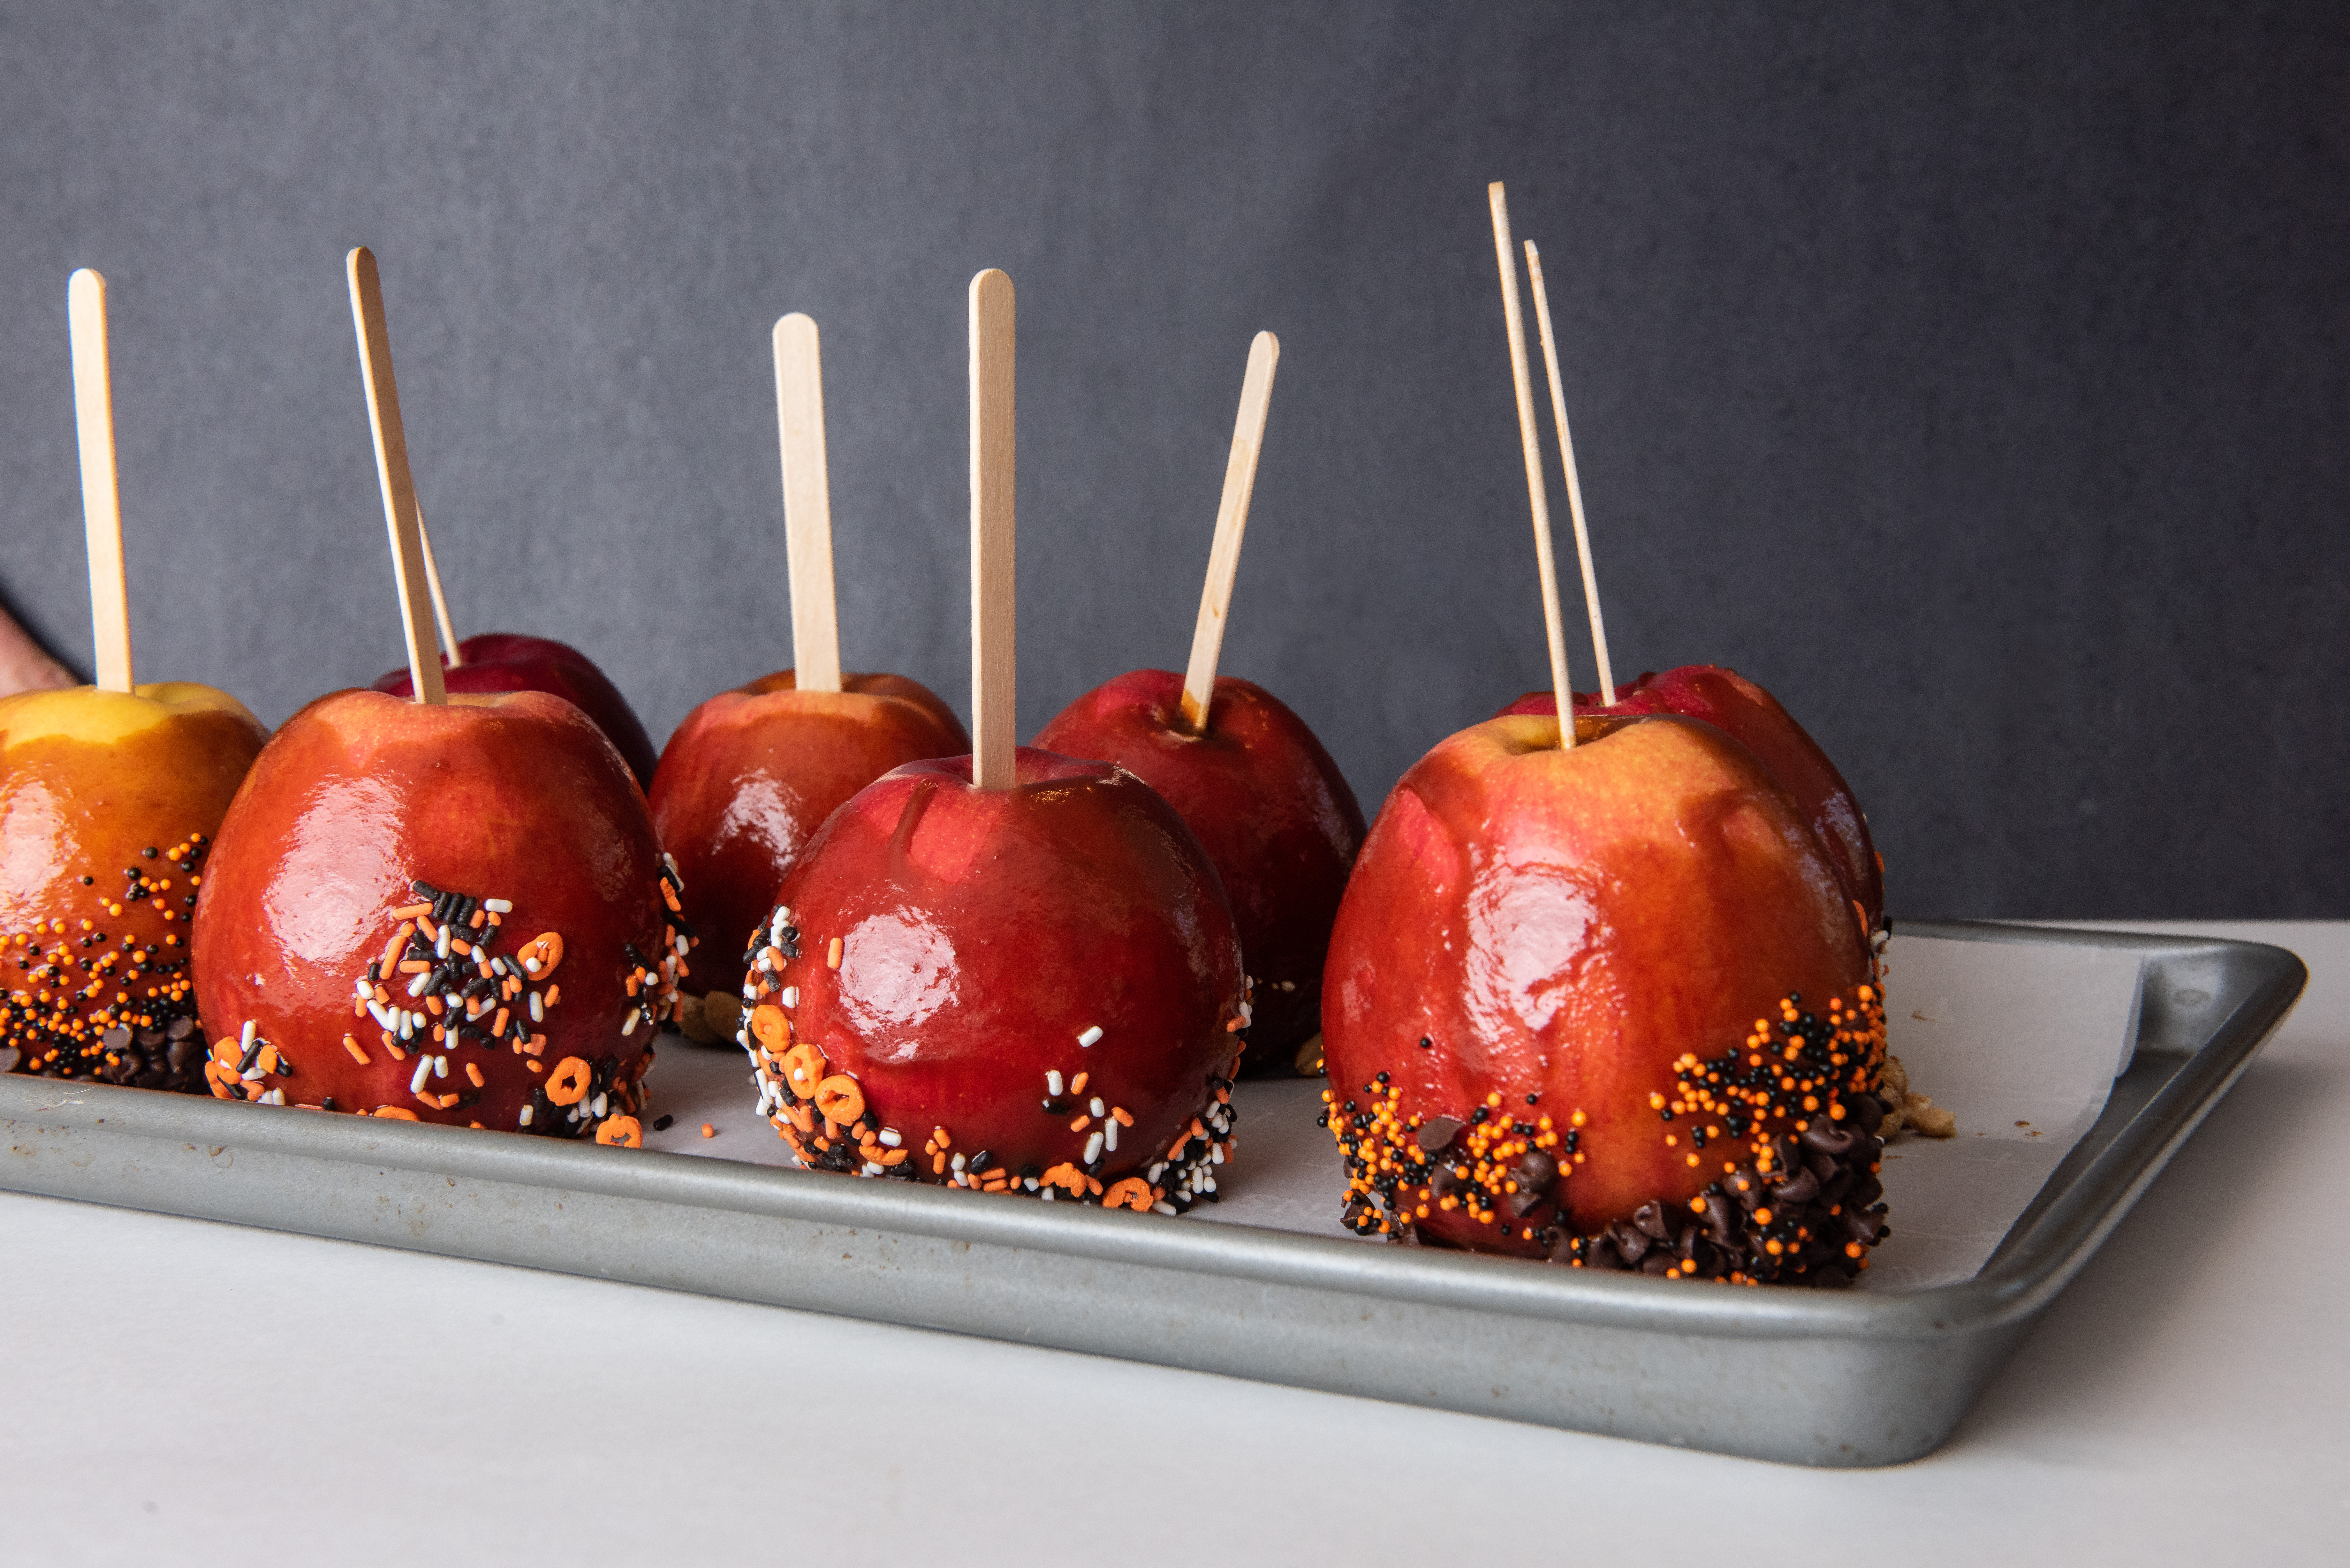
SALTED CARAMEL APPLES
Caramel apples are the quintessential Halloween treat. We decided to update this old favorite by adding a pinch of kosher salt to the caramel sauce to give it a twist. You can use a variety of sizes of apples, and you can decorate them in a number of ways. Just make sure the apples are completely dry before dipping them in the caramel. Store them in a cool, dry place to allow the caramel to set completely.
Servings: Yields 8 to 10 apples
8 to 10 small Jazz or Granny Smith apples
8 to 10 wooden popsicle sticks
½ cup water
1 cup sugar
½ teaspoon kosher salt
¾ cup heavy cream
1 tablespoon pure vanilla
1 cup chopped dry roasted peanuts (for decorating)
1 cup mini chocolate chips (for decorating)
1 cup Reese’s Pieces (for decorating)
1. Wash the apples well and dry them completely. Stick popsicle sticks through the top of the apples, making sure they are secure. Set them aside in a cool dry place.
2. Line a baking sheet with parchment paper. Set out your desired candies and/or chopped nuts for decorating.
3. In a medium heavy sauce pot, heat the water, sugar and salt over medium-high heat. Stir this mixture until the sugar and salt are fully dissolved and it comes to a rolling boil.
4. Reduce the heat to medium and allow the mixture to simmer, without stirring, for 8 to 10 minutes or until the mixture becomes golden in color.
5. Reduce the heat to low. Carefully but quickly stir in the heavy cream, being mindful that the mixture will splatter when the cream is added.
6. Keep stirring over a low heat. Use a candy thermometer to make sure the temperature reaches 250 degrees. This will take another 6 to 8 minutes.
7. Remove the pot from the heat, stir in the vanilla, and allow the temperature to come down to 212 degrees before you begin to dip the apples.
8. Dip each apple into the hot caramel, making sure the excess drips back into the pot. Sprinkle the warm caramel with the nuts, chocolate chips or other candies. Set them on the baking sheet lined with parchment. Allow the apples to cool completely 10 to 15 minutes before transferring them to a serving platter. Store remaining apples in the refrigerator for up to 3 days.
This article was originally published in the October 2018 issue of 225 Magazine.

