For Kaitlynn Fenley and Scott Chachere, cooking is right at the intersection of art and science.
Fenley, a microbiologist, and Chachere, a designer and photographer, first created their fermented foods company, Cultured Guru, as a blog. Recipes and striking photos helped grow the brand, and soon they were retailing jarred fermented goods.
“When I first started with the blog,” Fenley says, “I wouldn’t say that I was a good cook at all or good at plating or making food pretty. But [plating] fosters a different kind of connection with your food. It’s like food is … a science and an art. And there’s this science of colors and flavors and pairing sour things we make with all kinds of other fresh ingredients.”
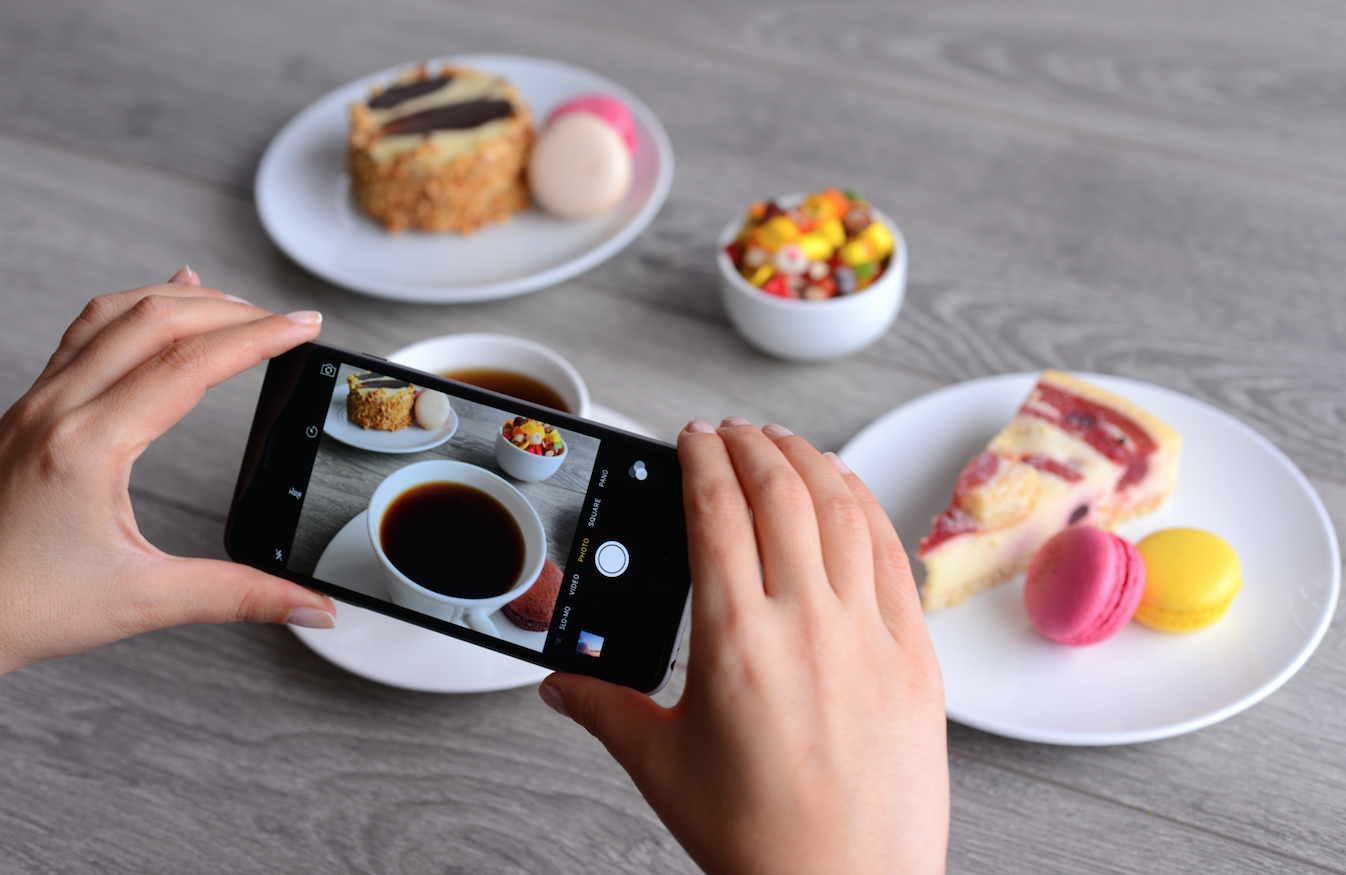
Fenley and Chachere’s perfectly styled Instagram now boasts nearly 11,000 followers. We had the couple walk us through 15 of their photos to learn how any home cook can share their beautiful kitchen creations with the world. cultured.guru
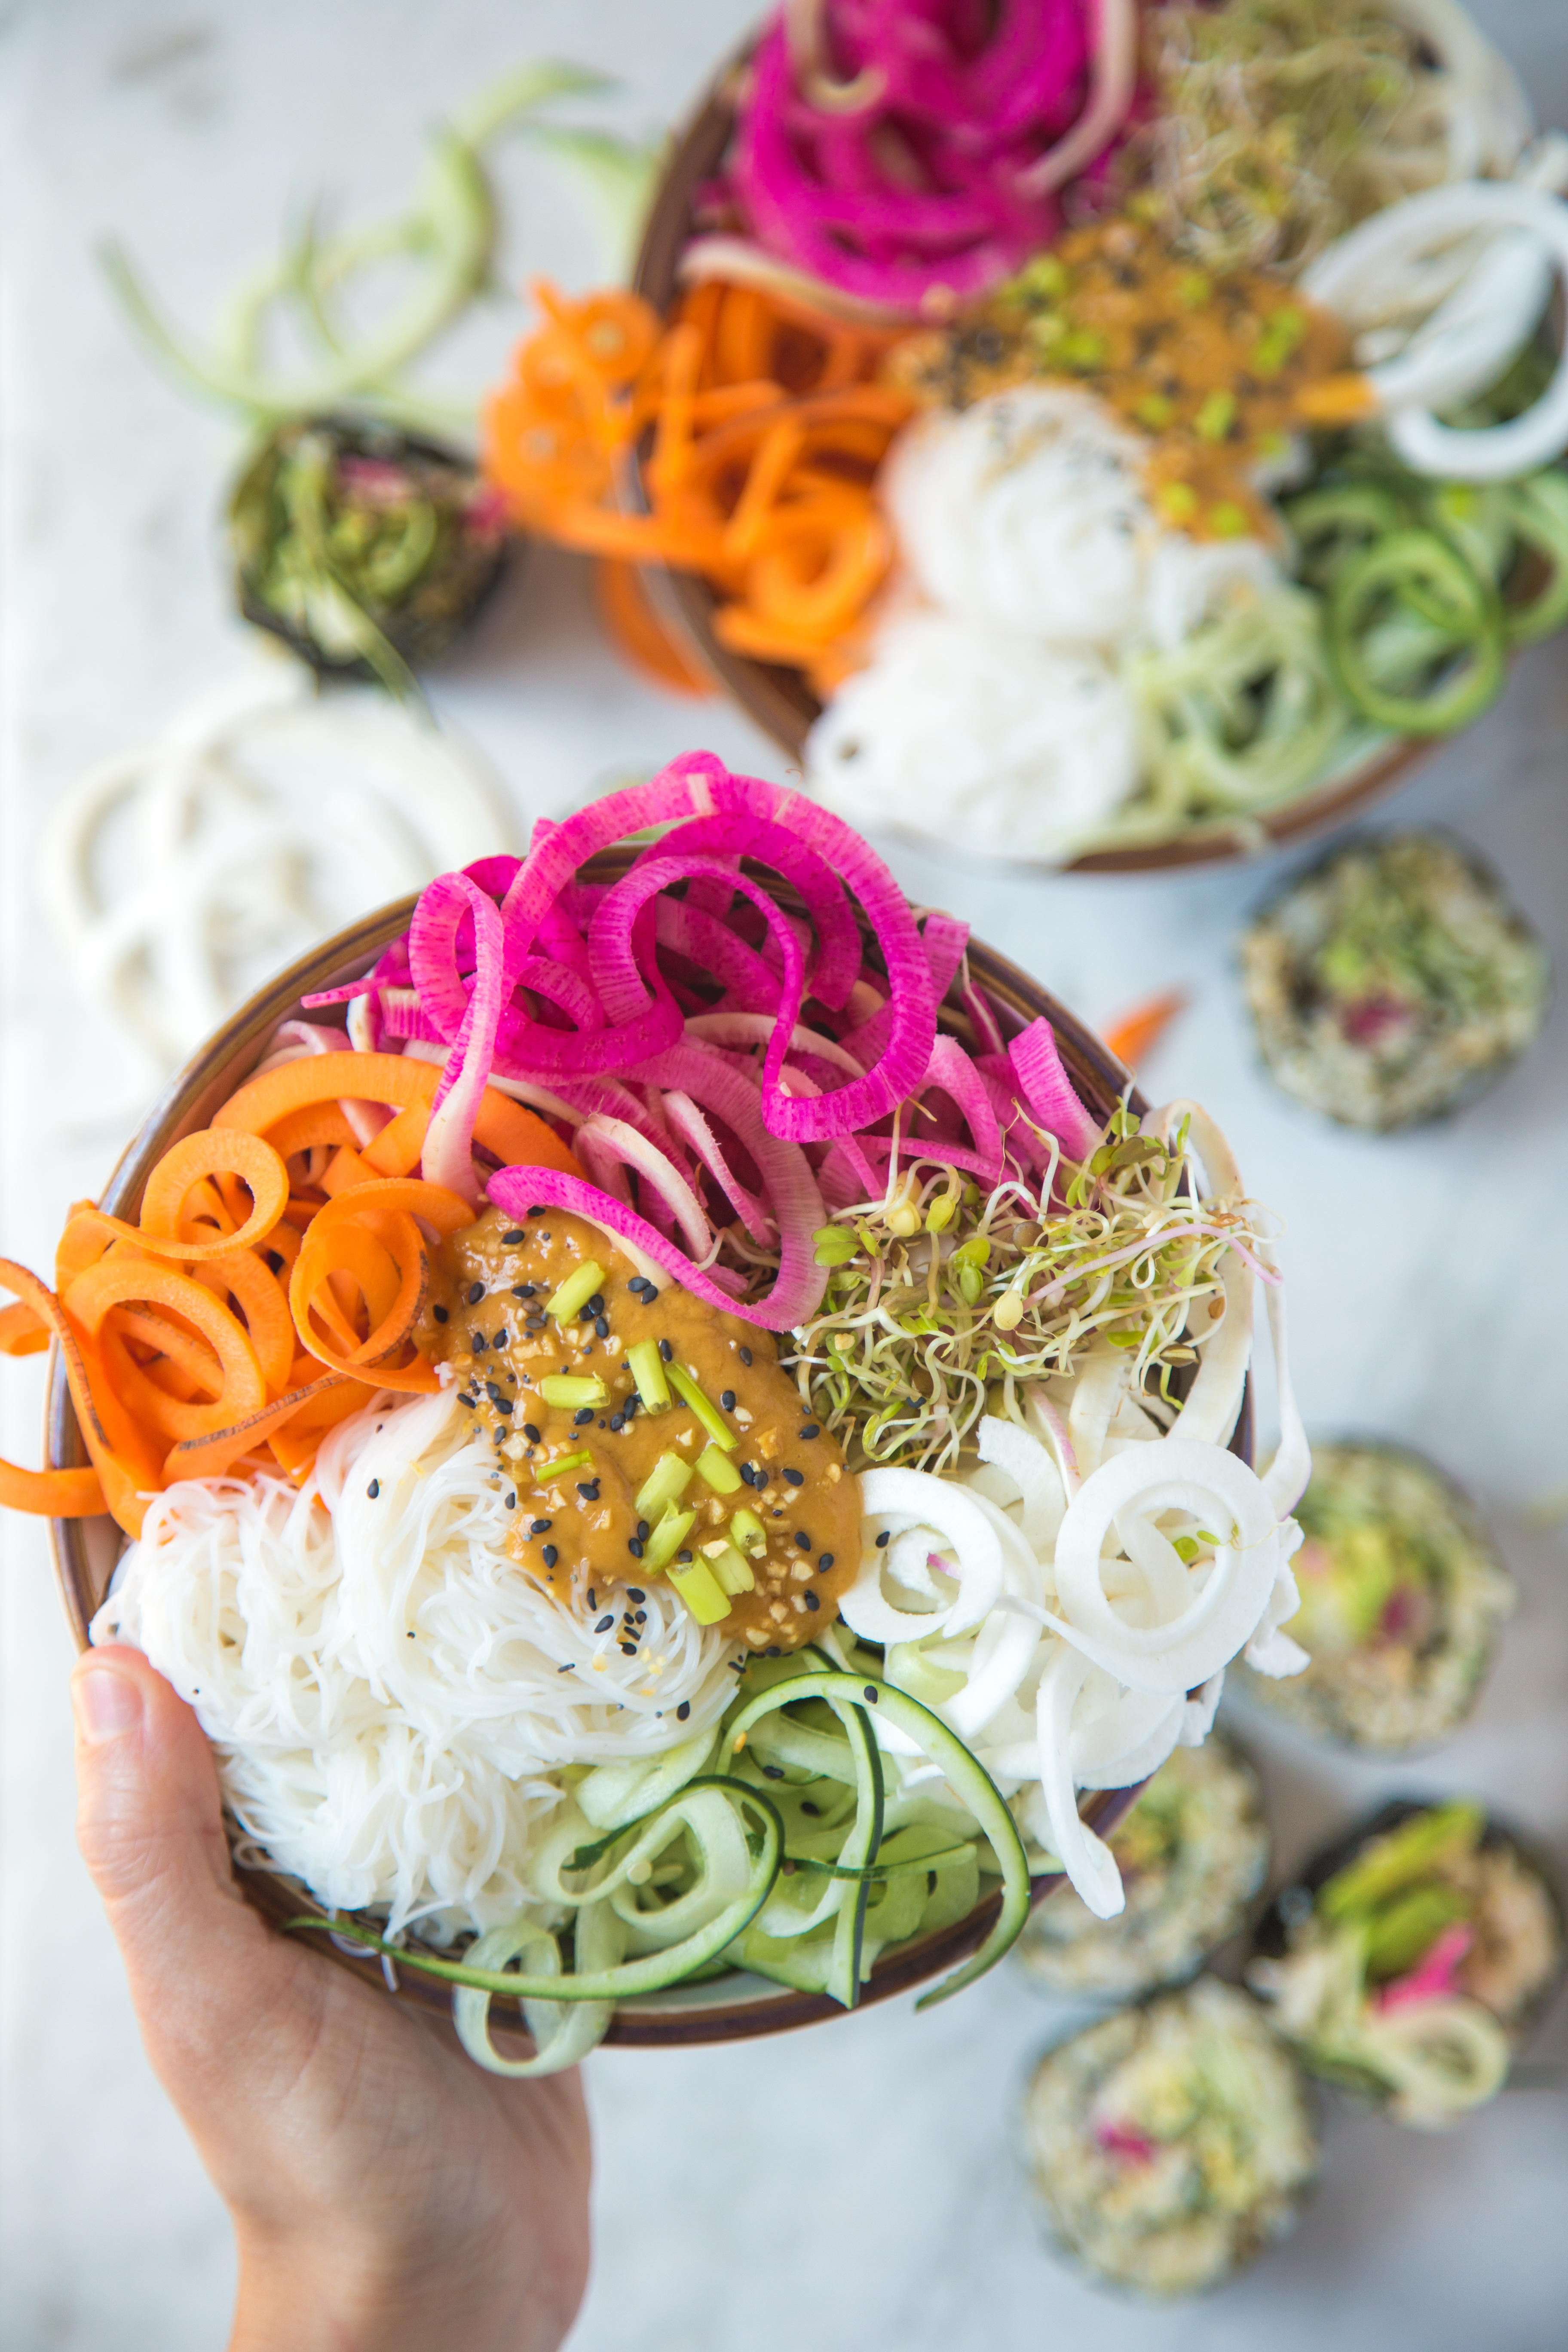
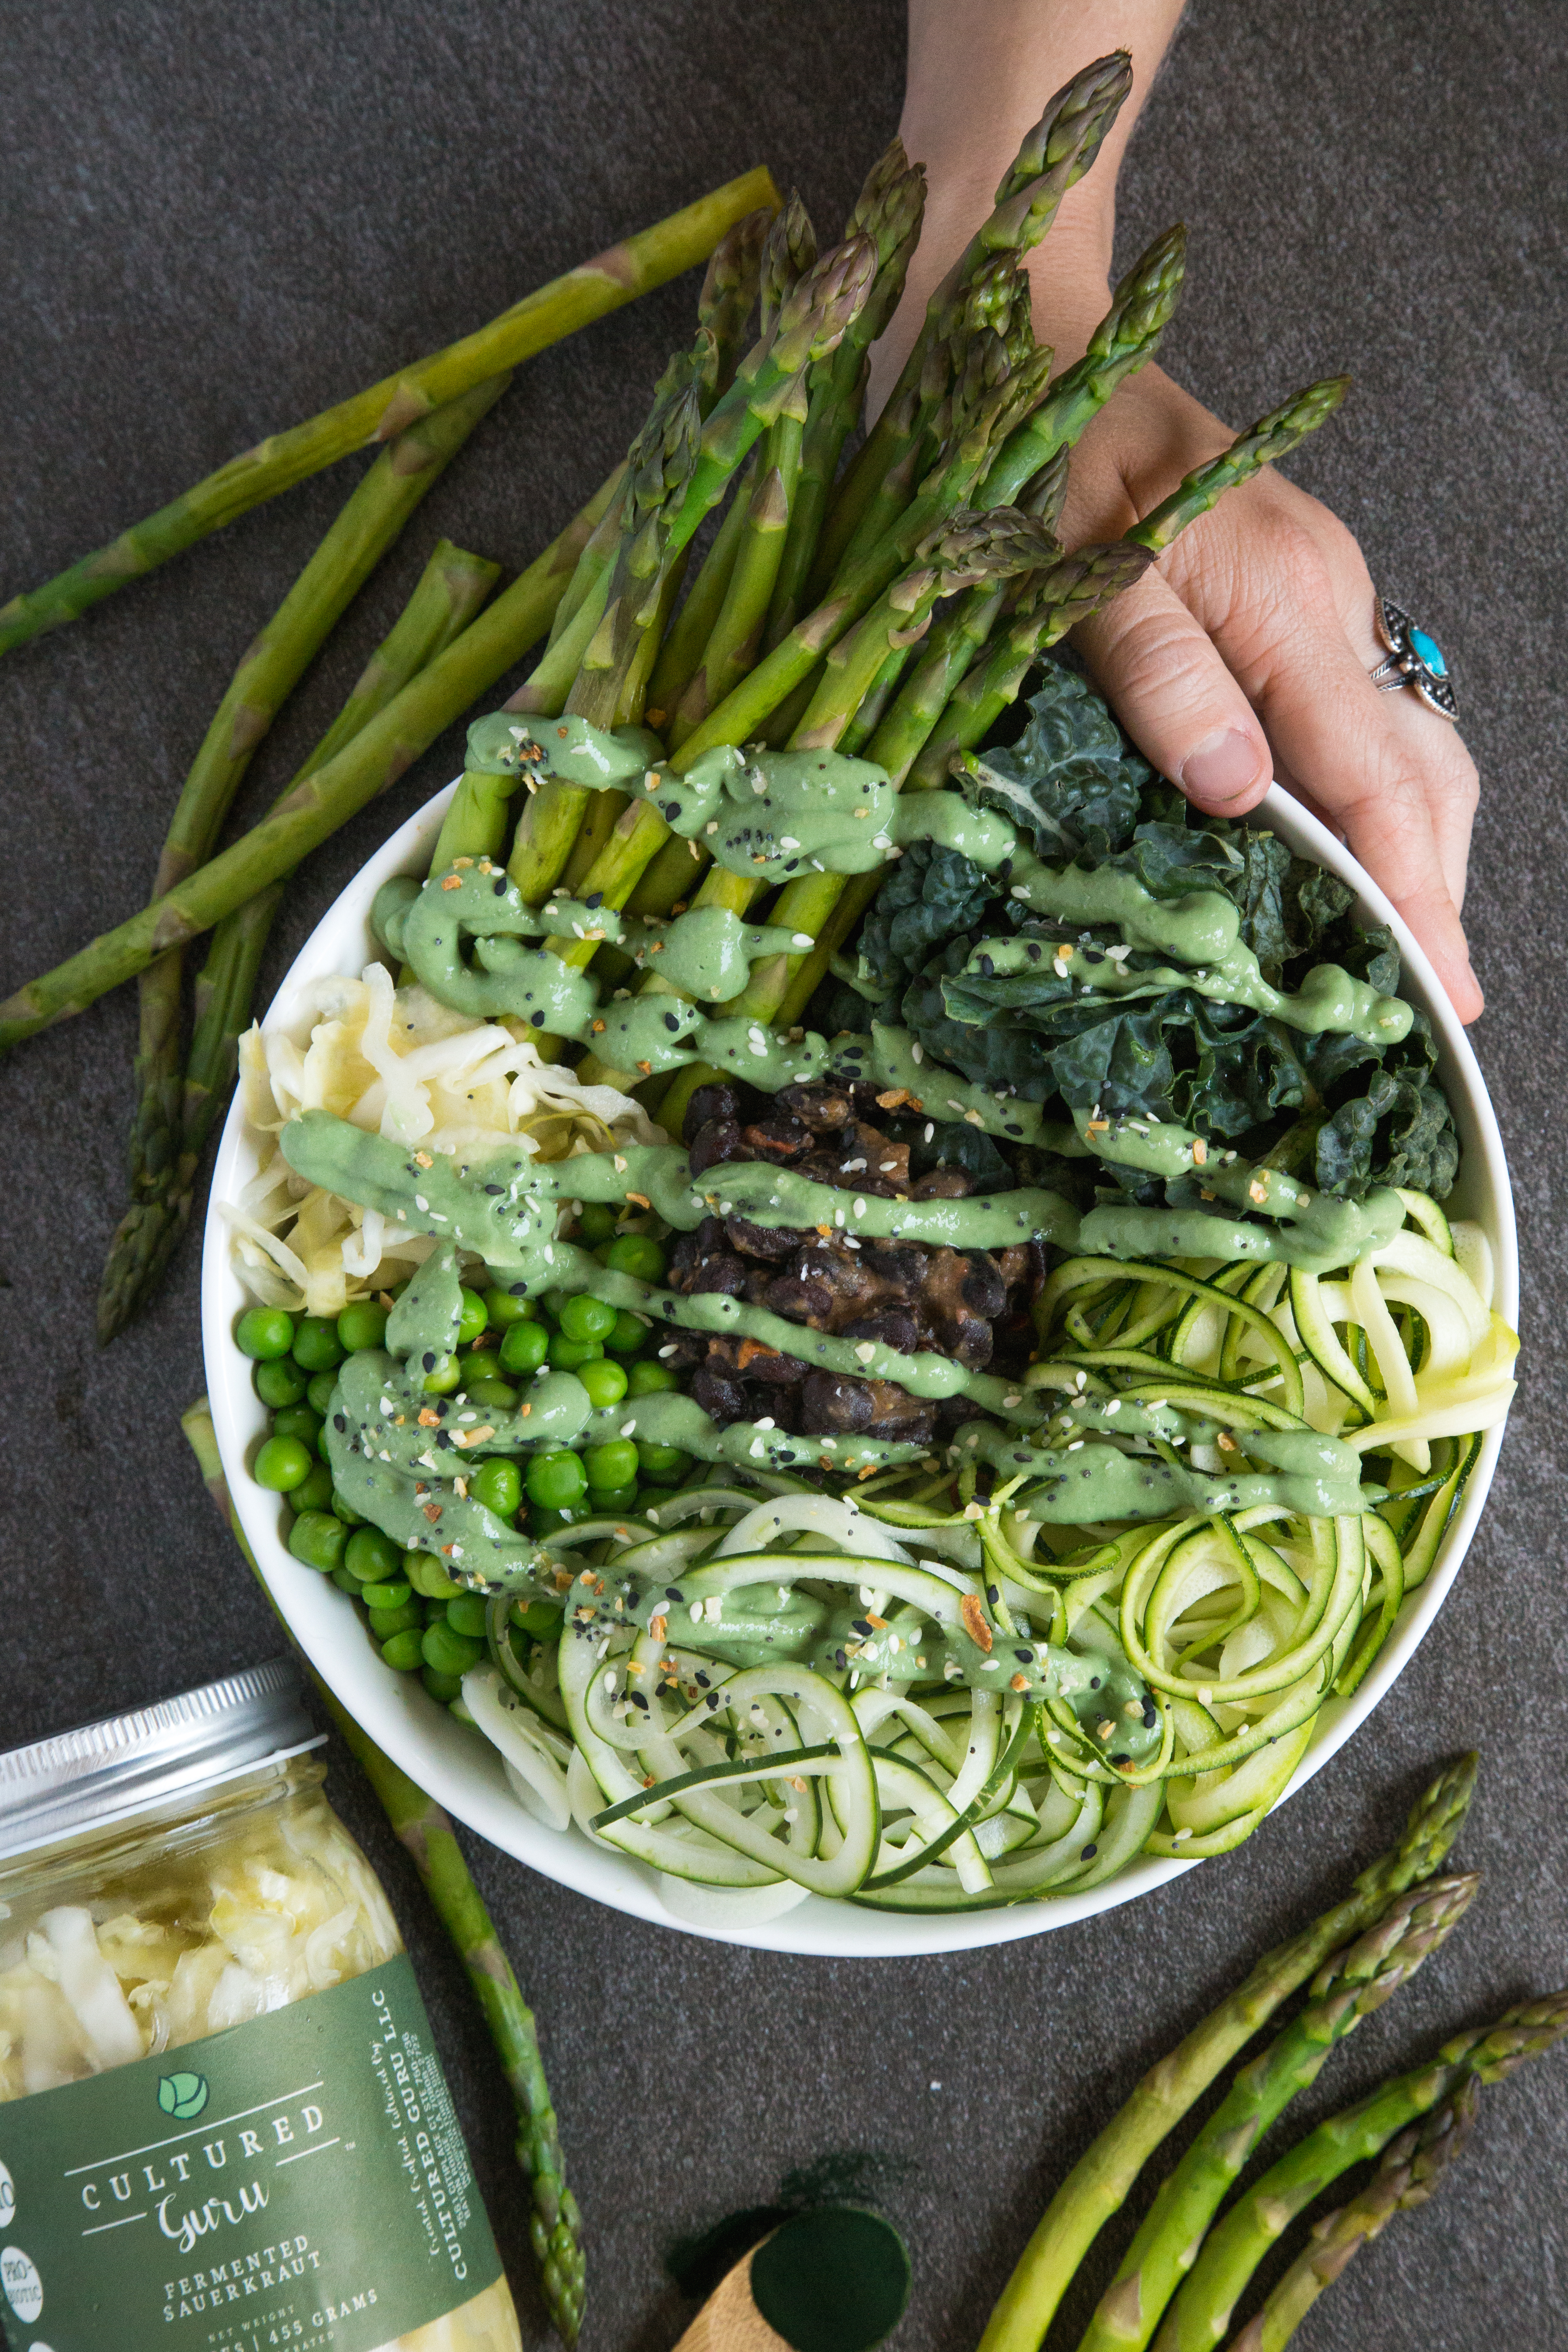
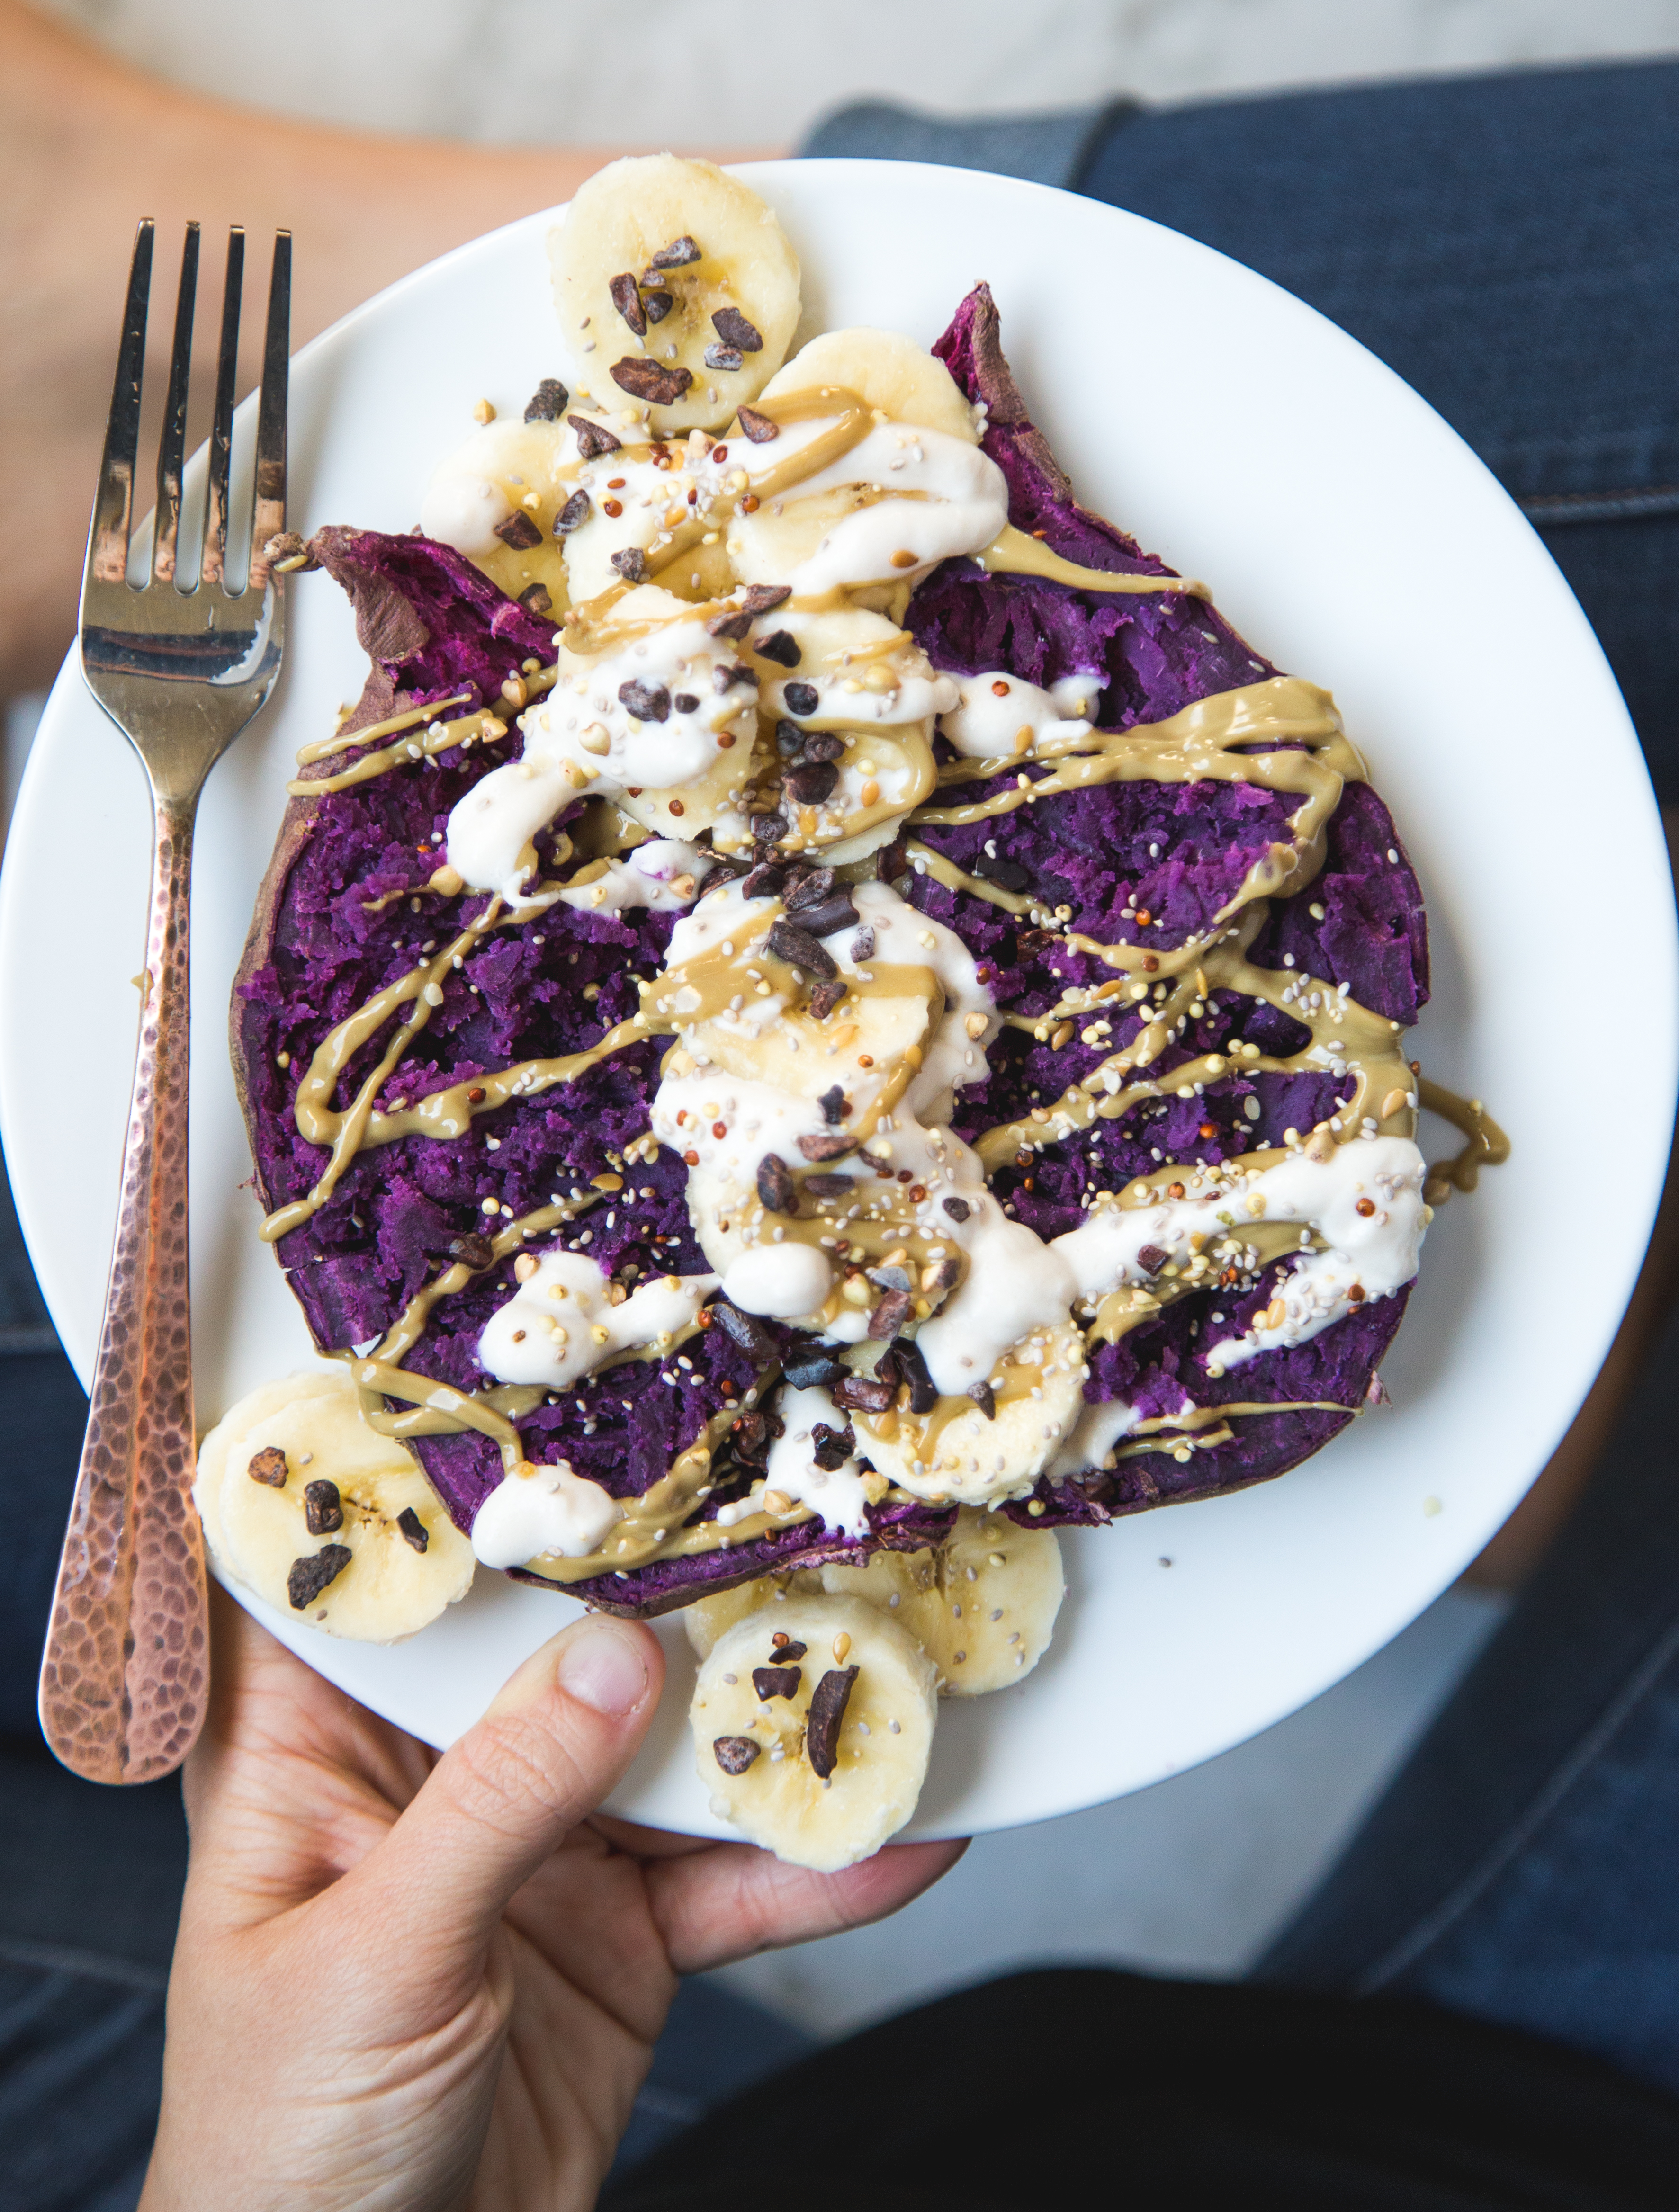
1. Keep your colors simple. Avoid more than three to four colors in a shot. Keep your color wheel in mind—try to balance complementary colors like greens with reds, oranges with blues and yellows with purples.
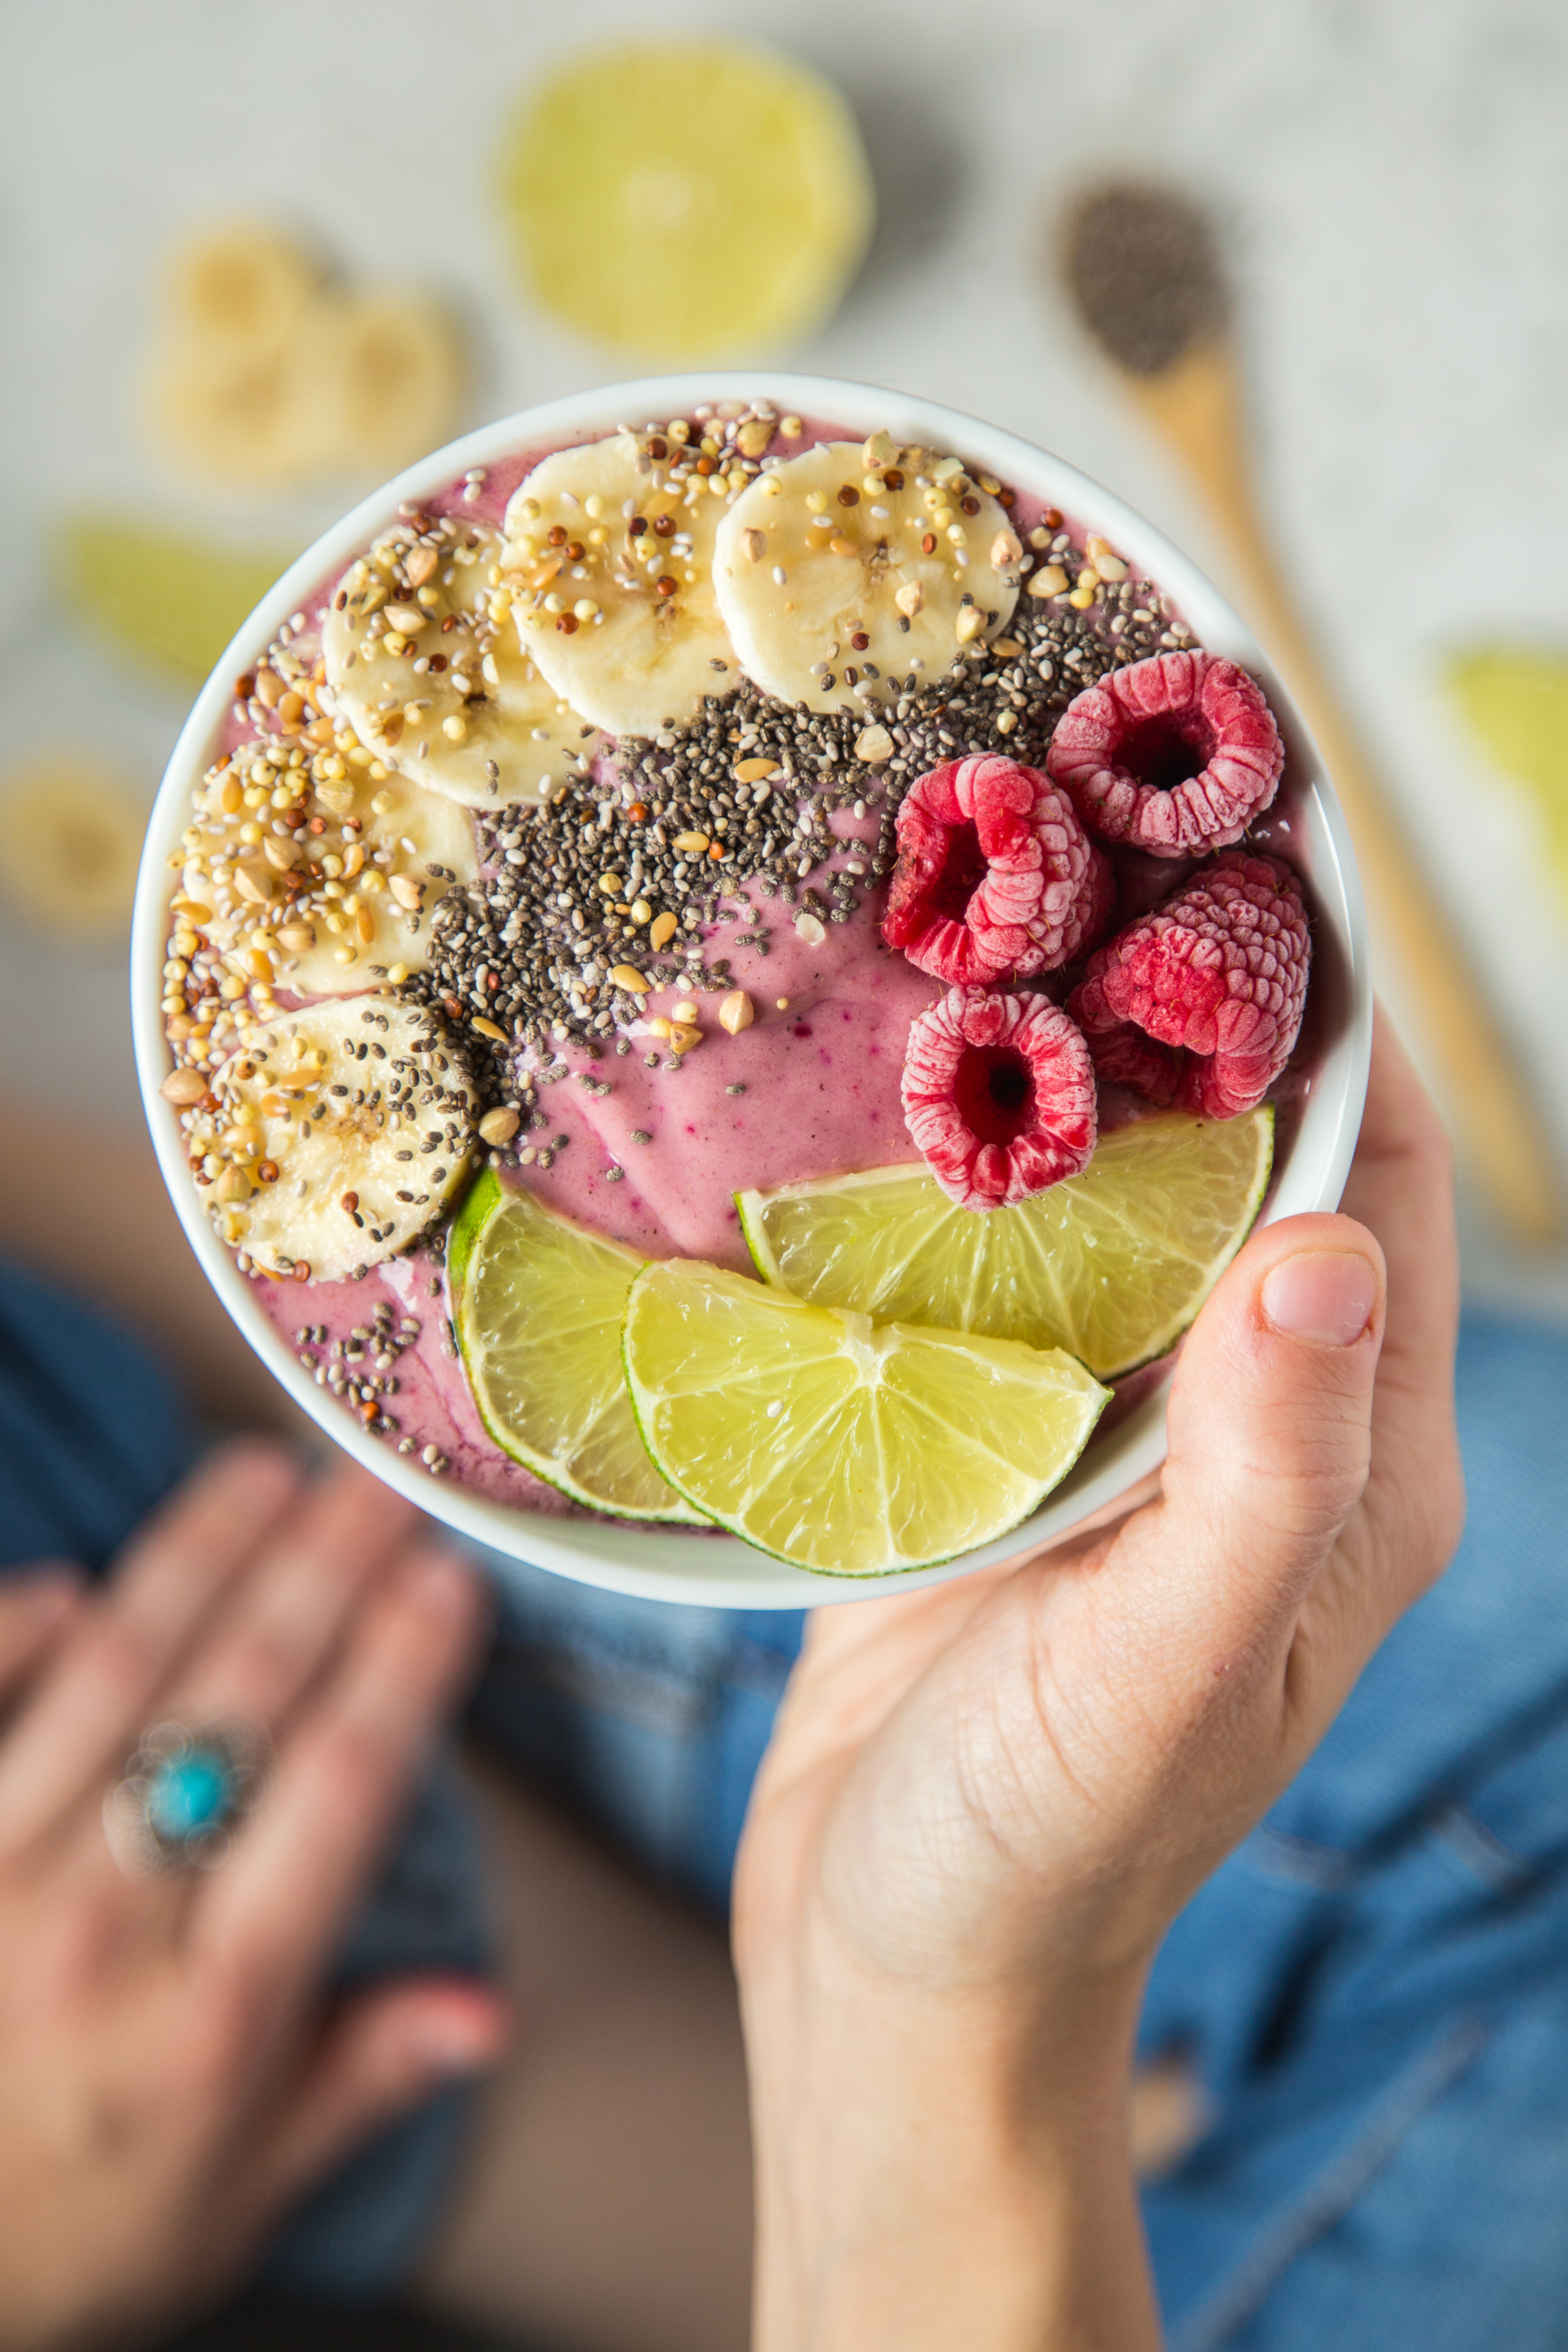
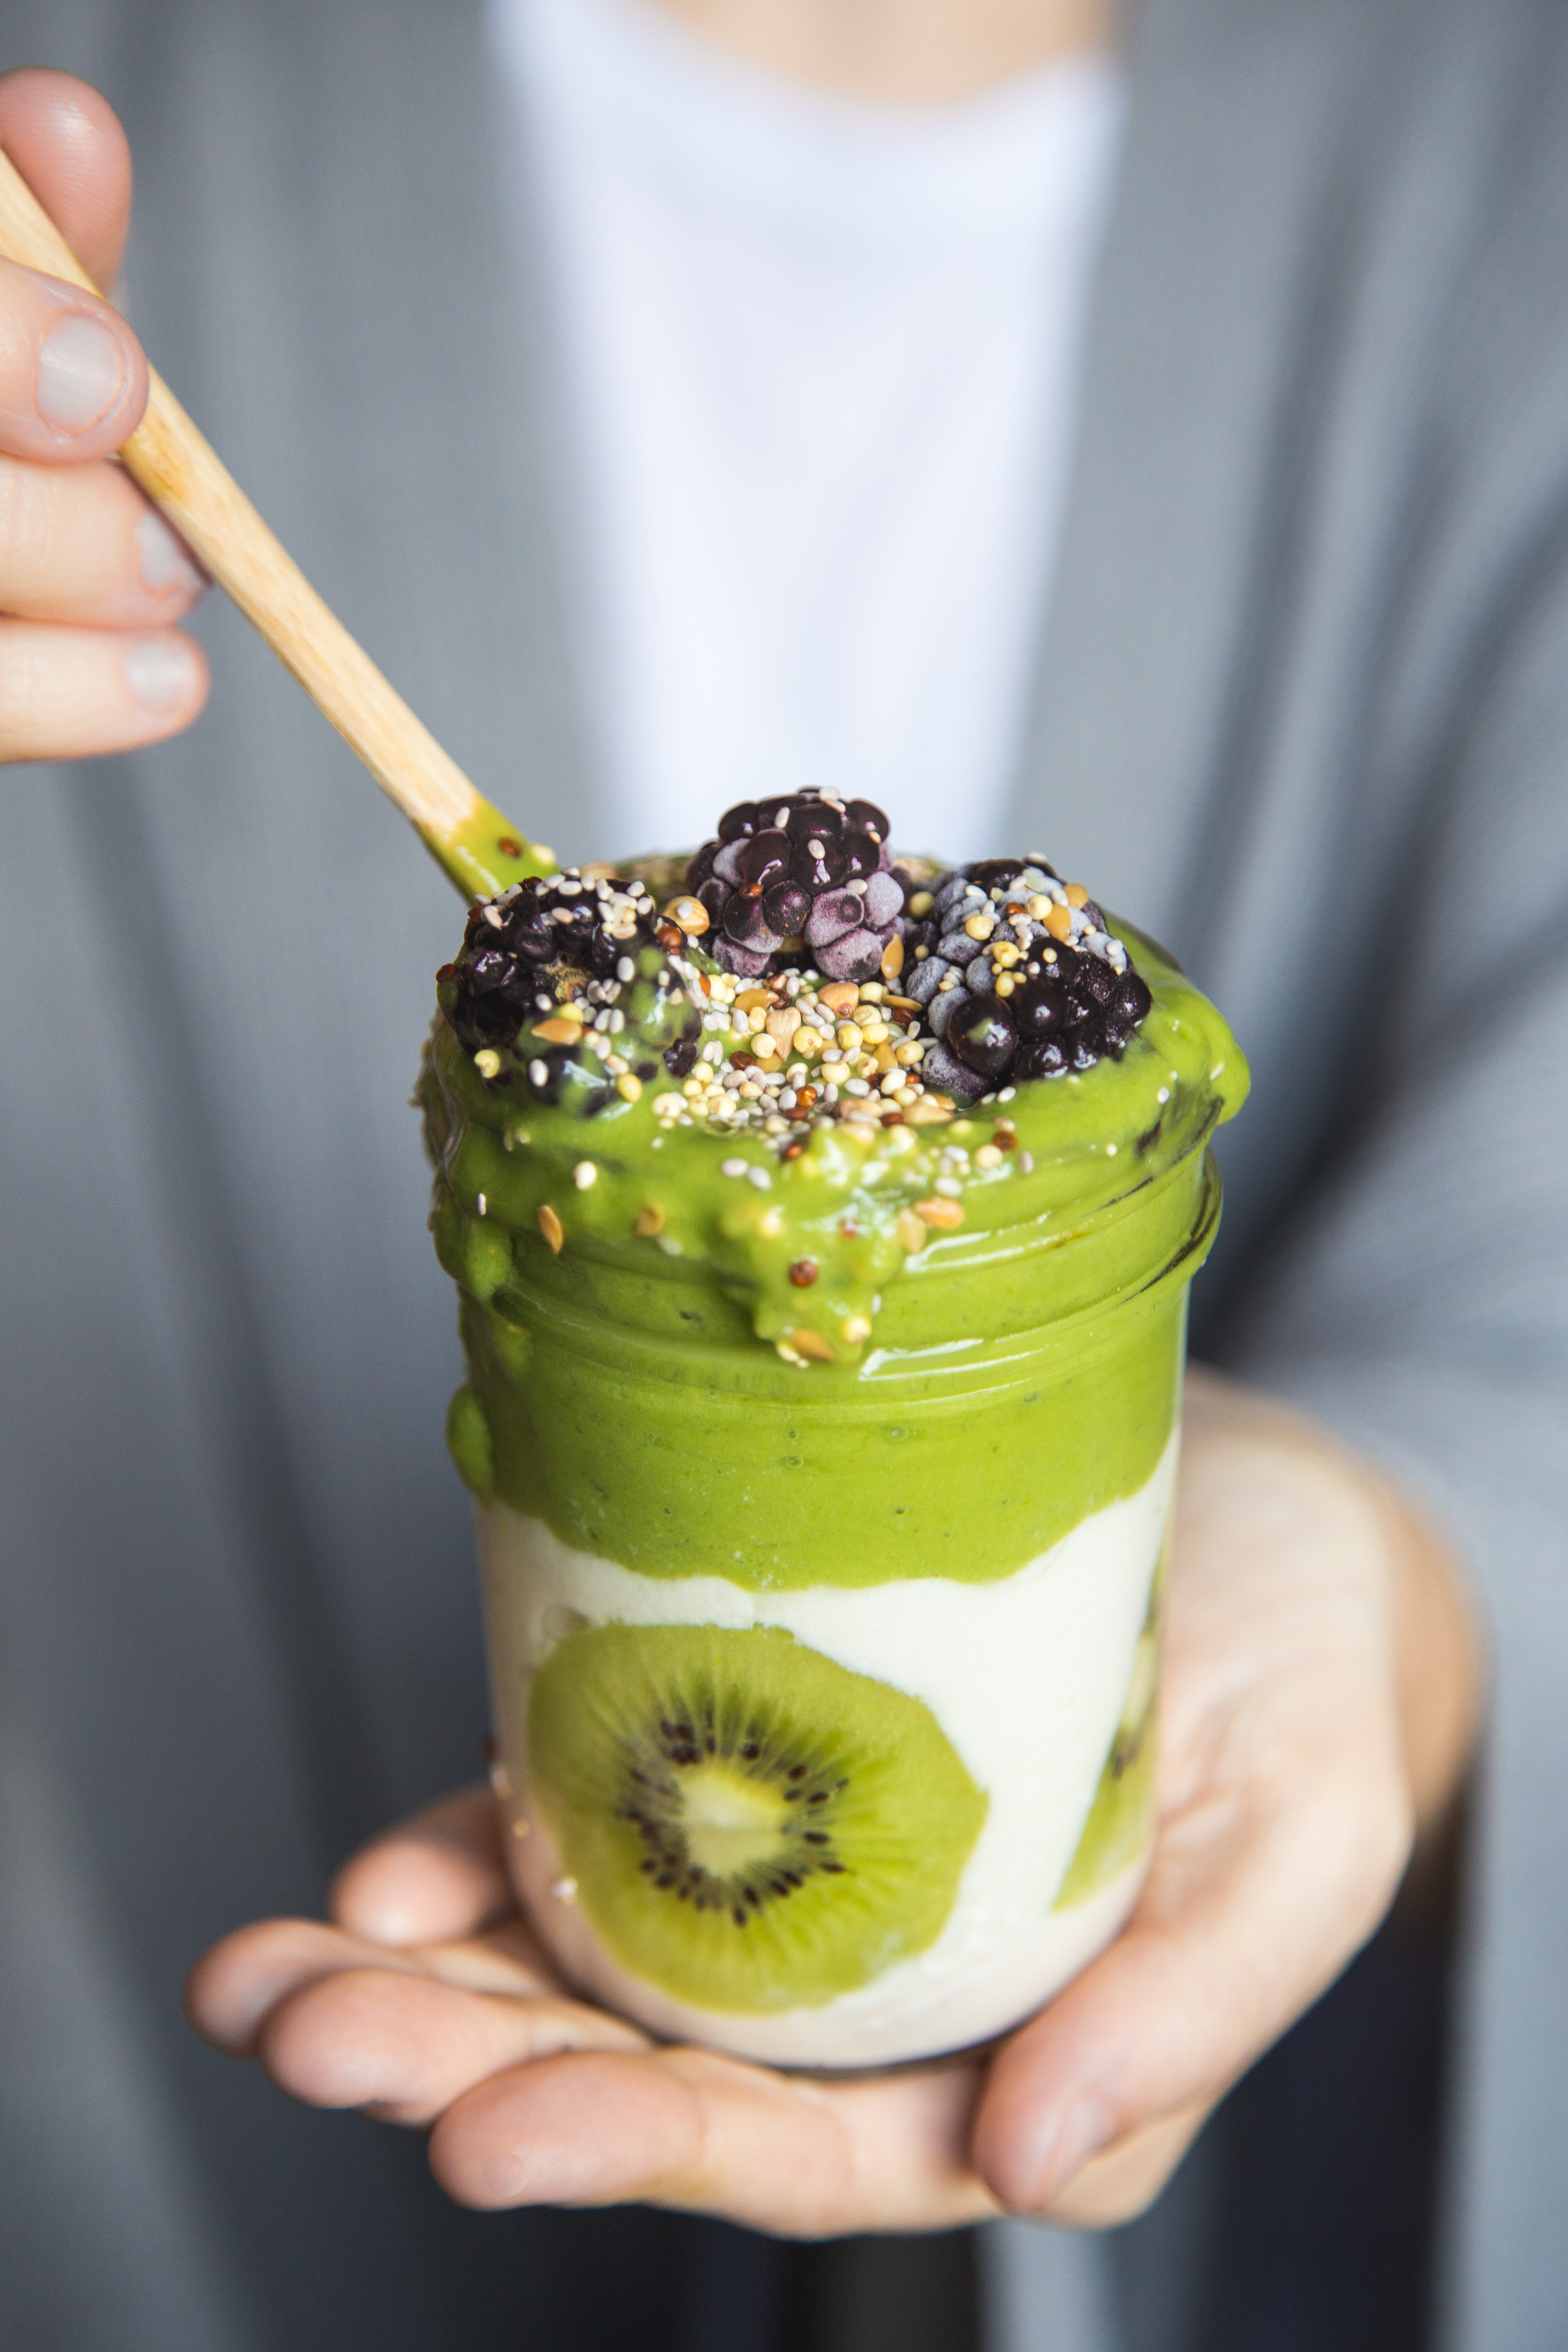
2. Stock your kitchen with tasty textures. Fresh herbs like rosemary and cilantro, coarse seasonings like sea salt and nutritional add-ins like chia seeds and coconut flakes all add dimension to a photo.
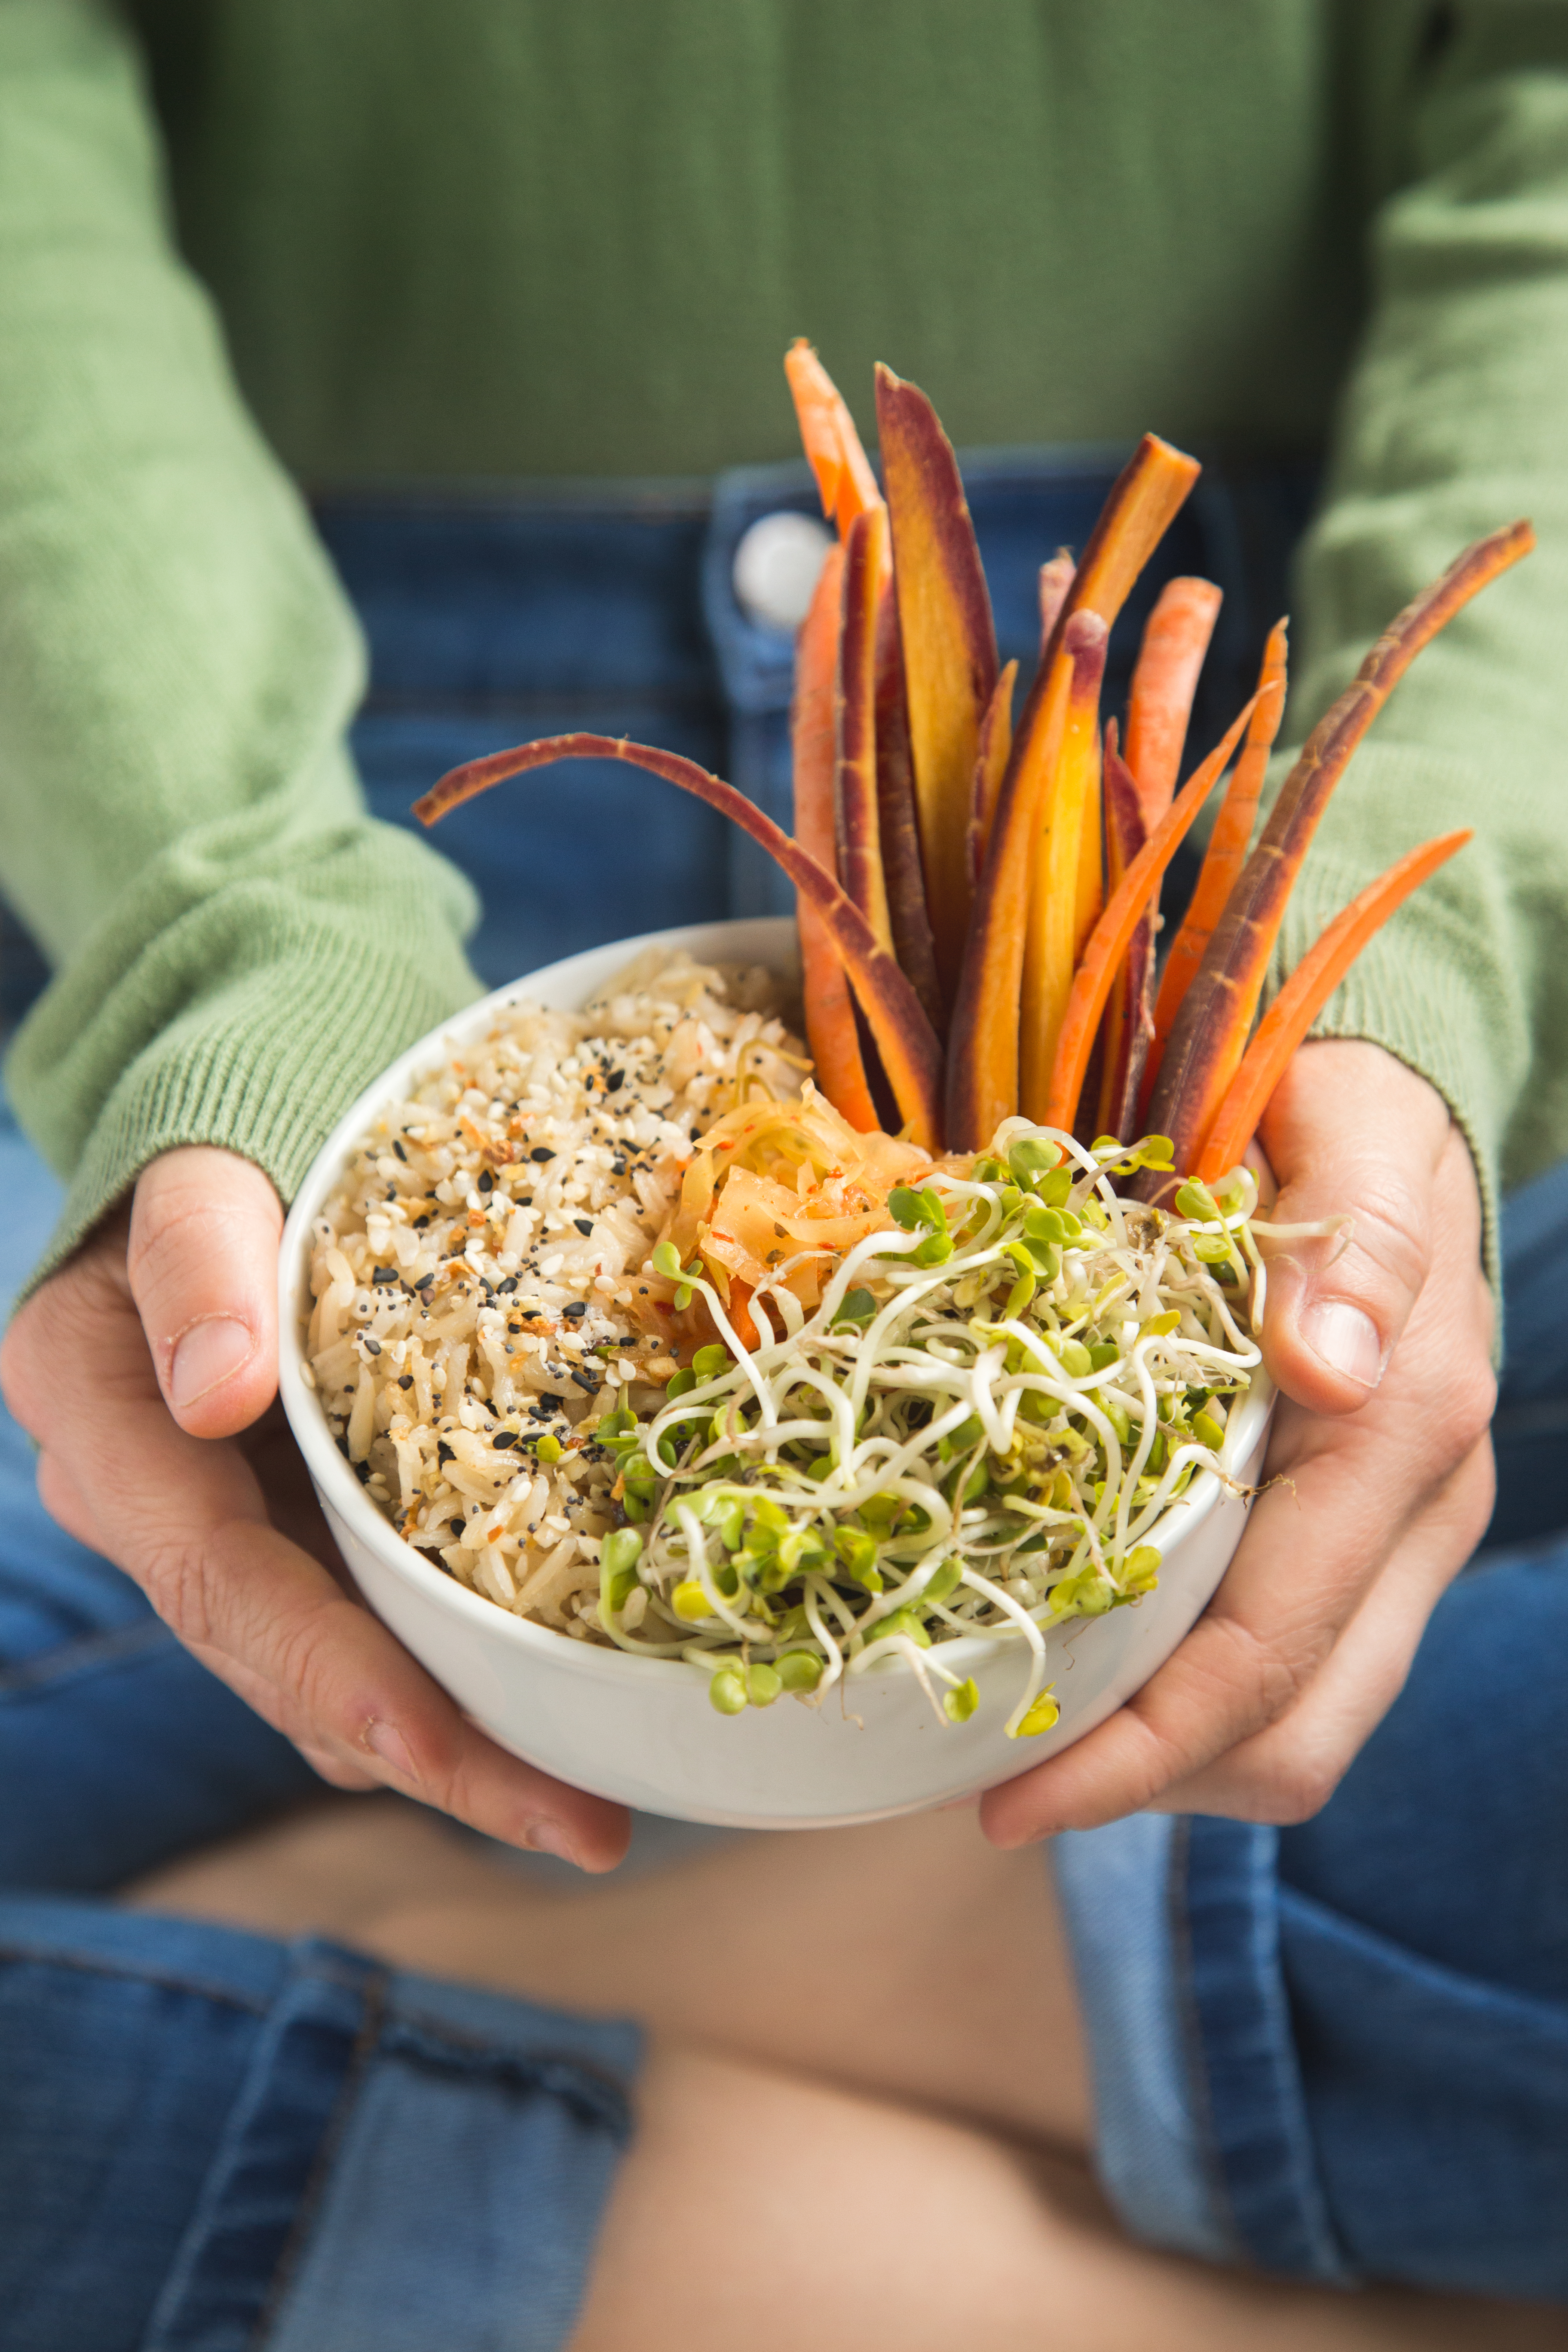
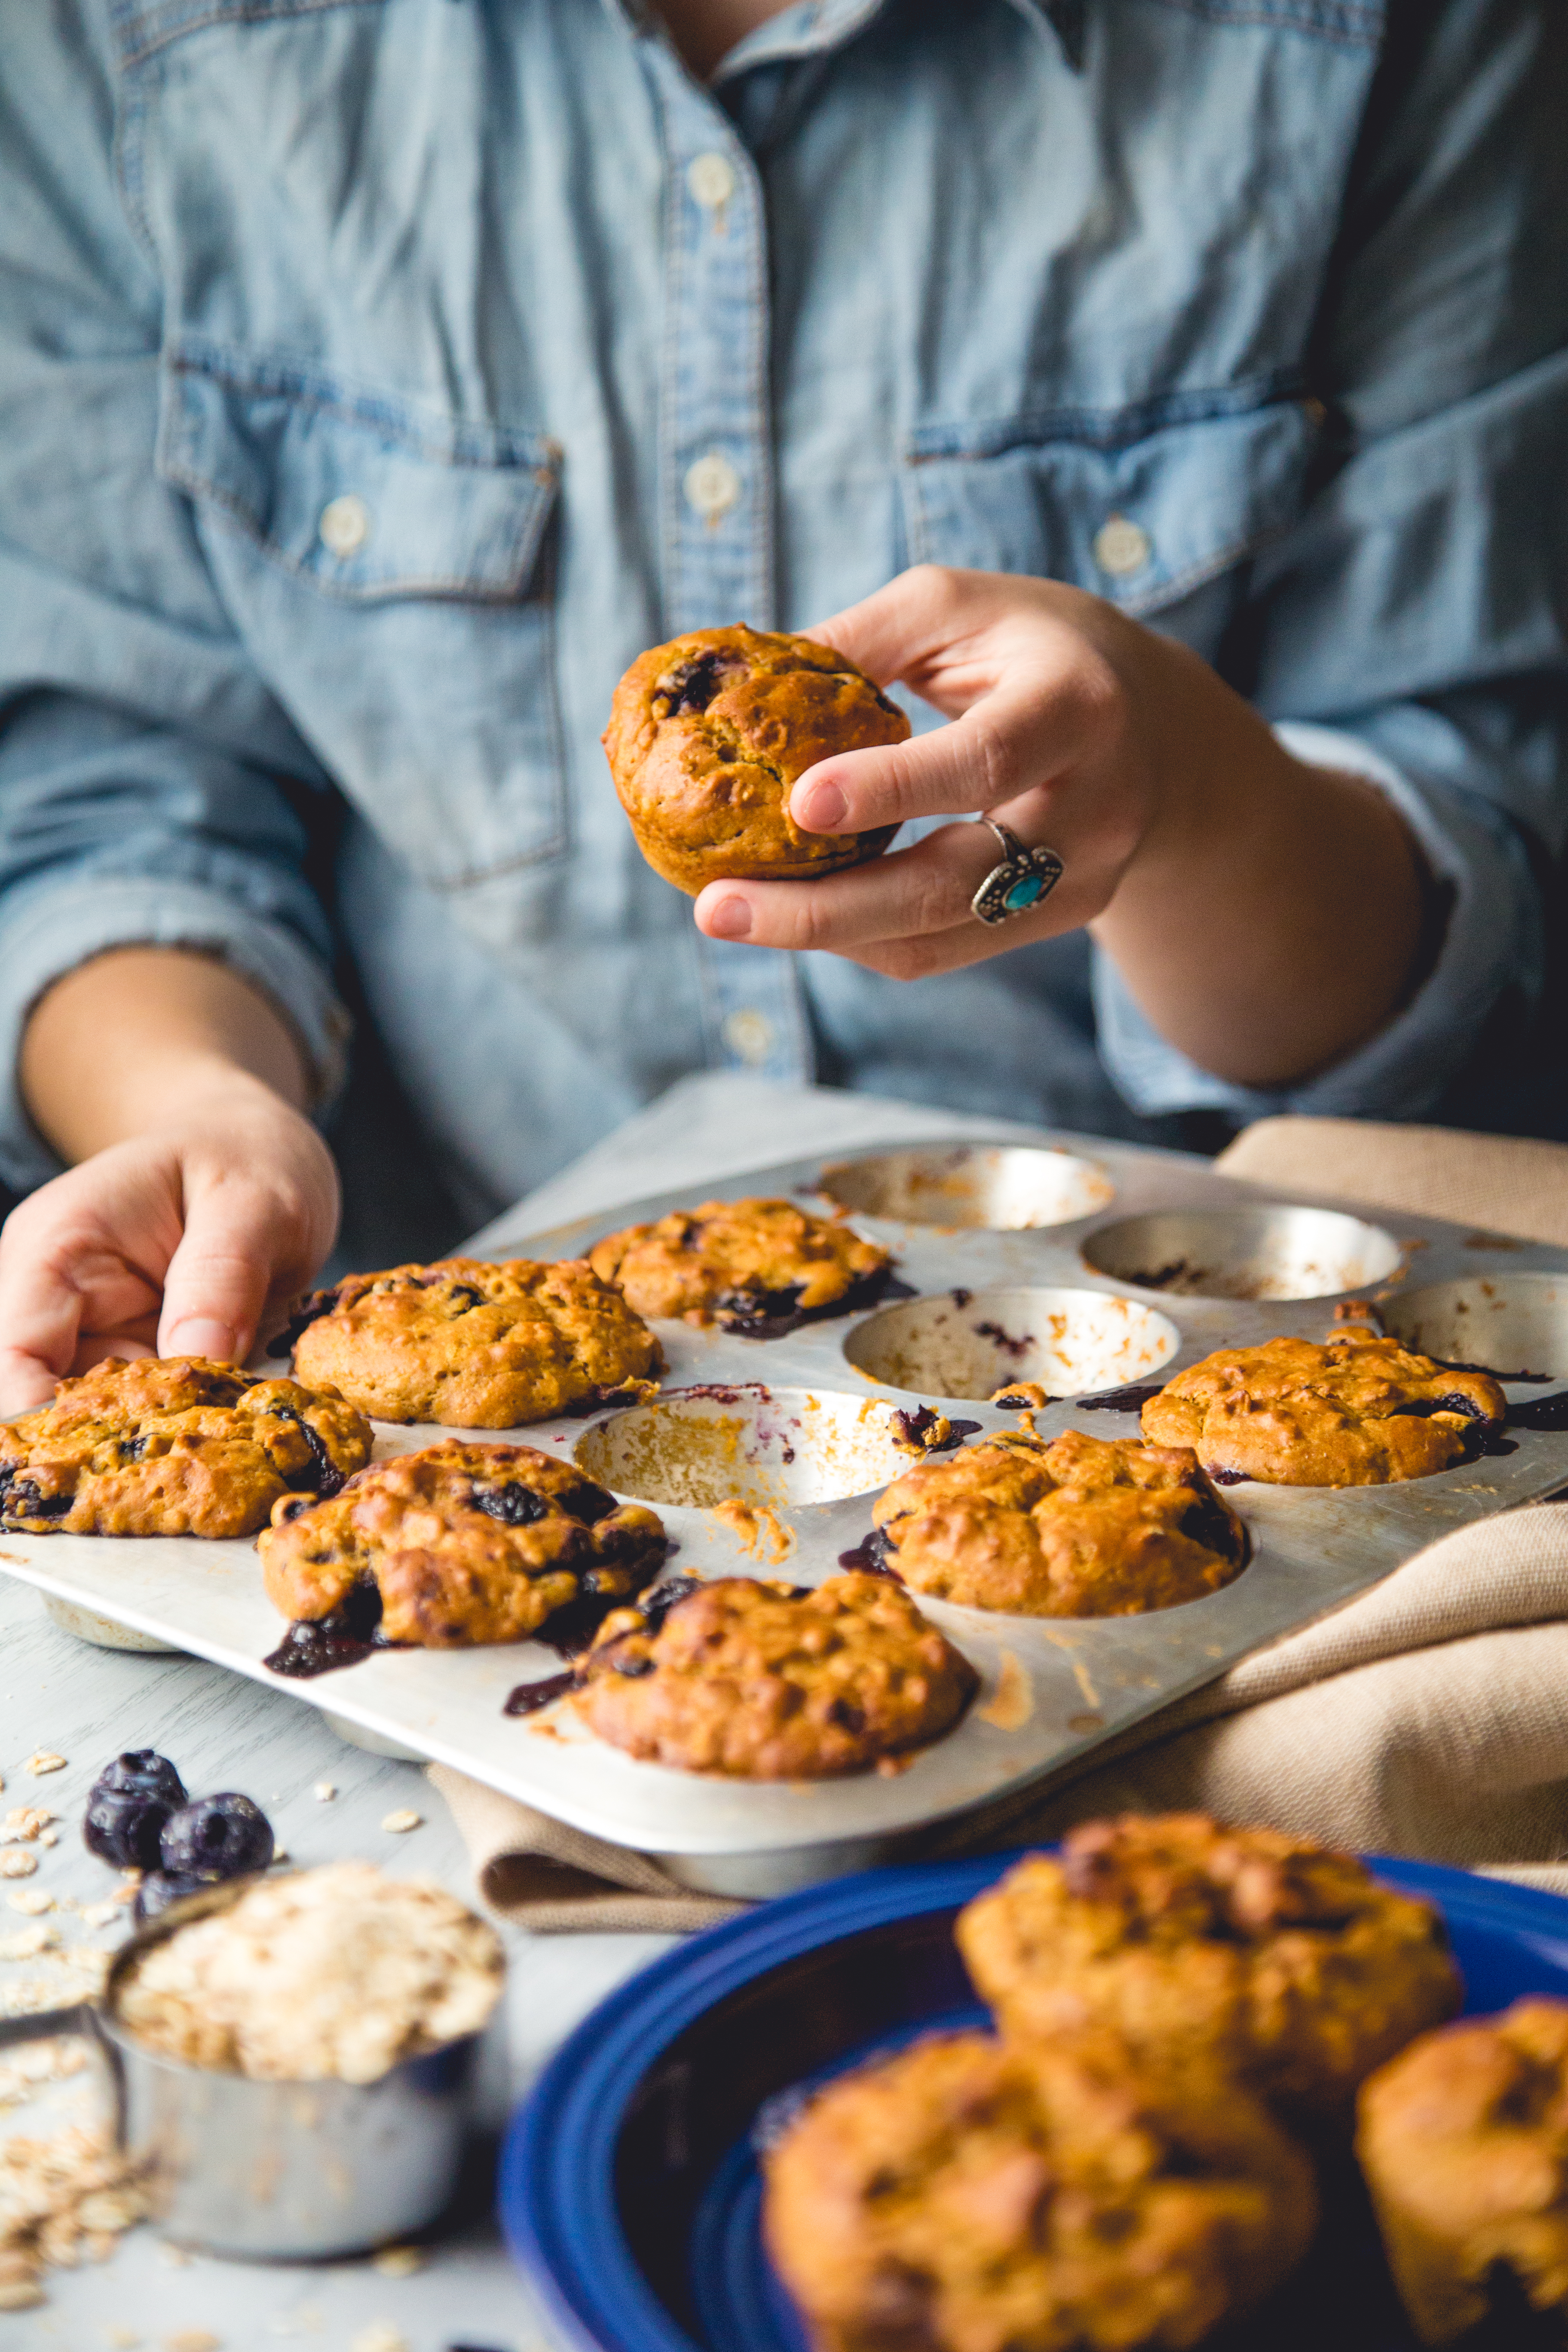
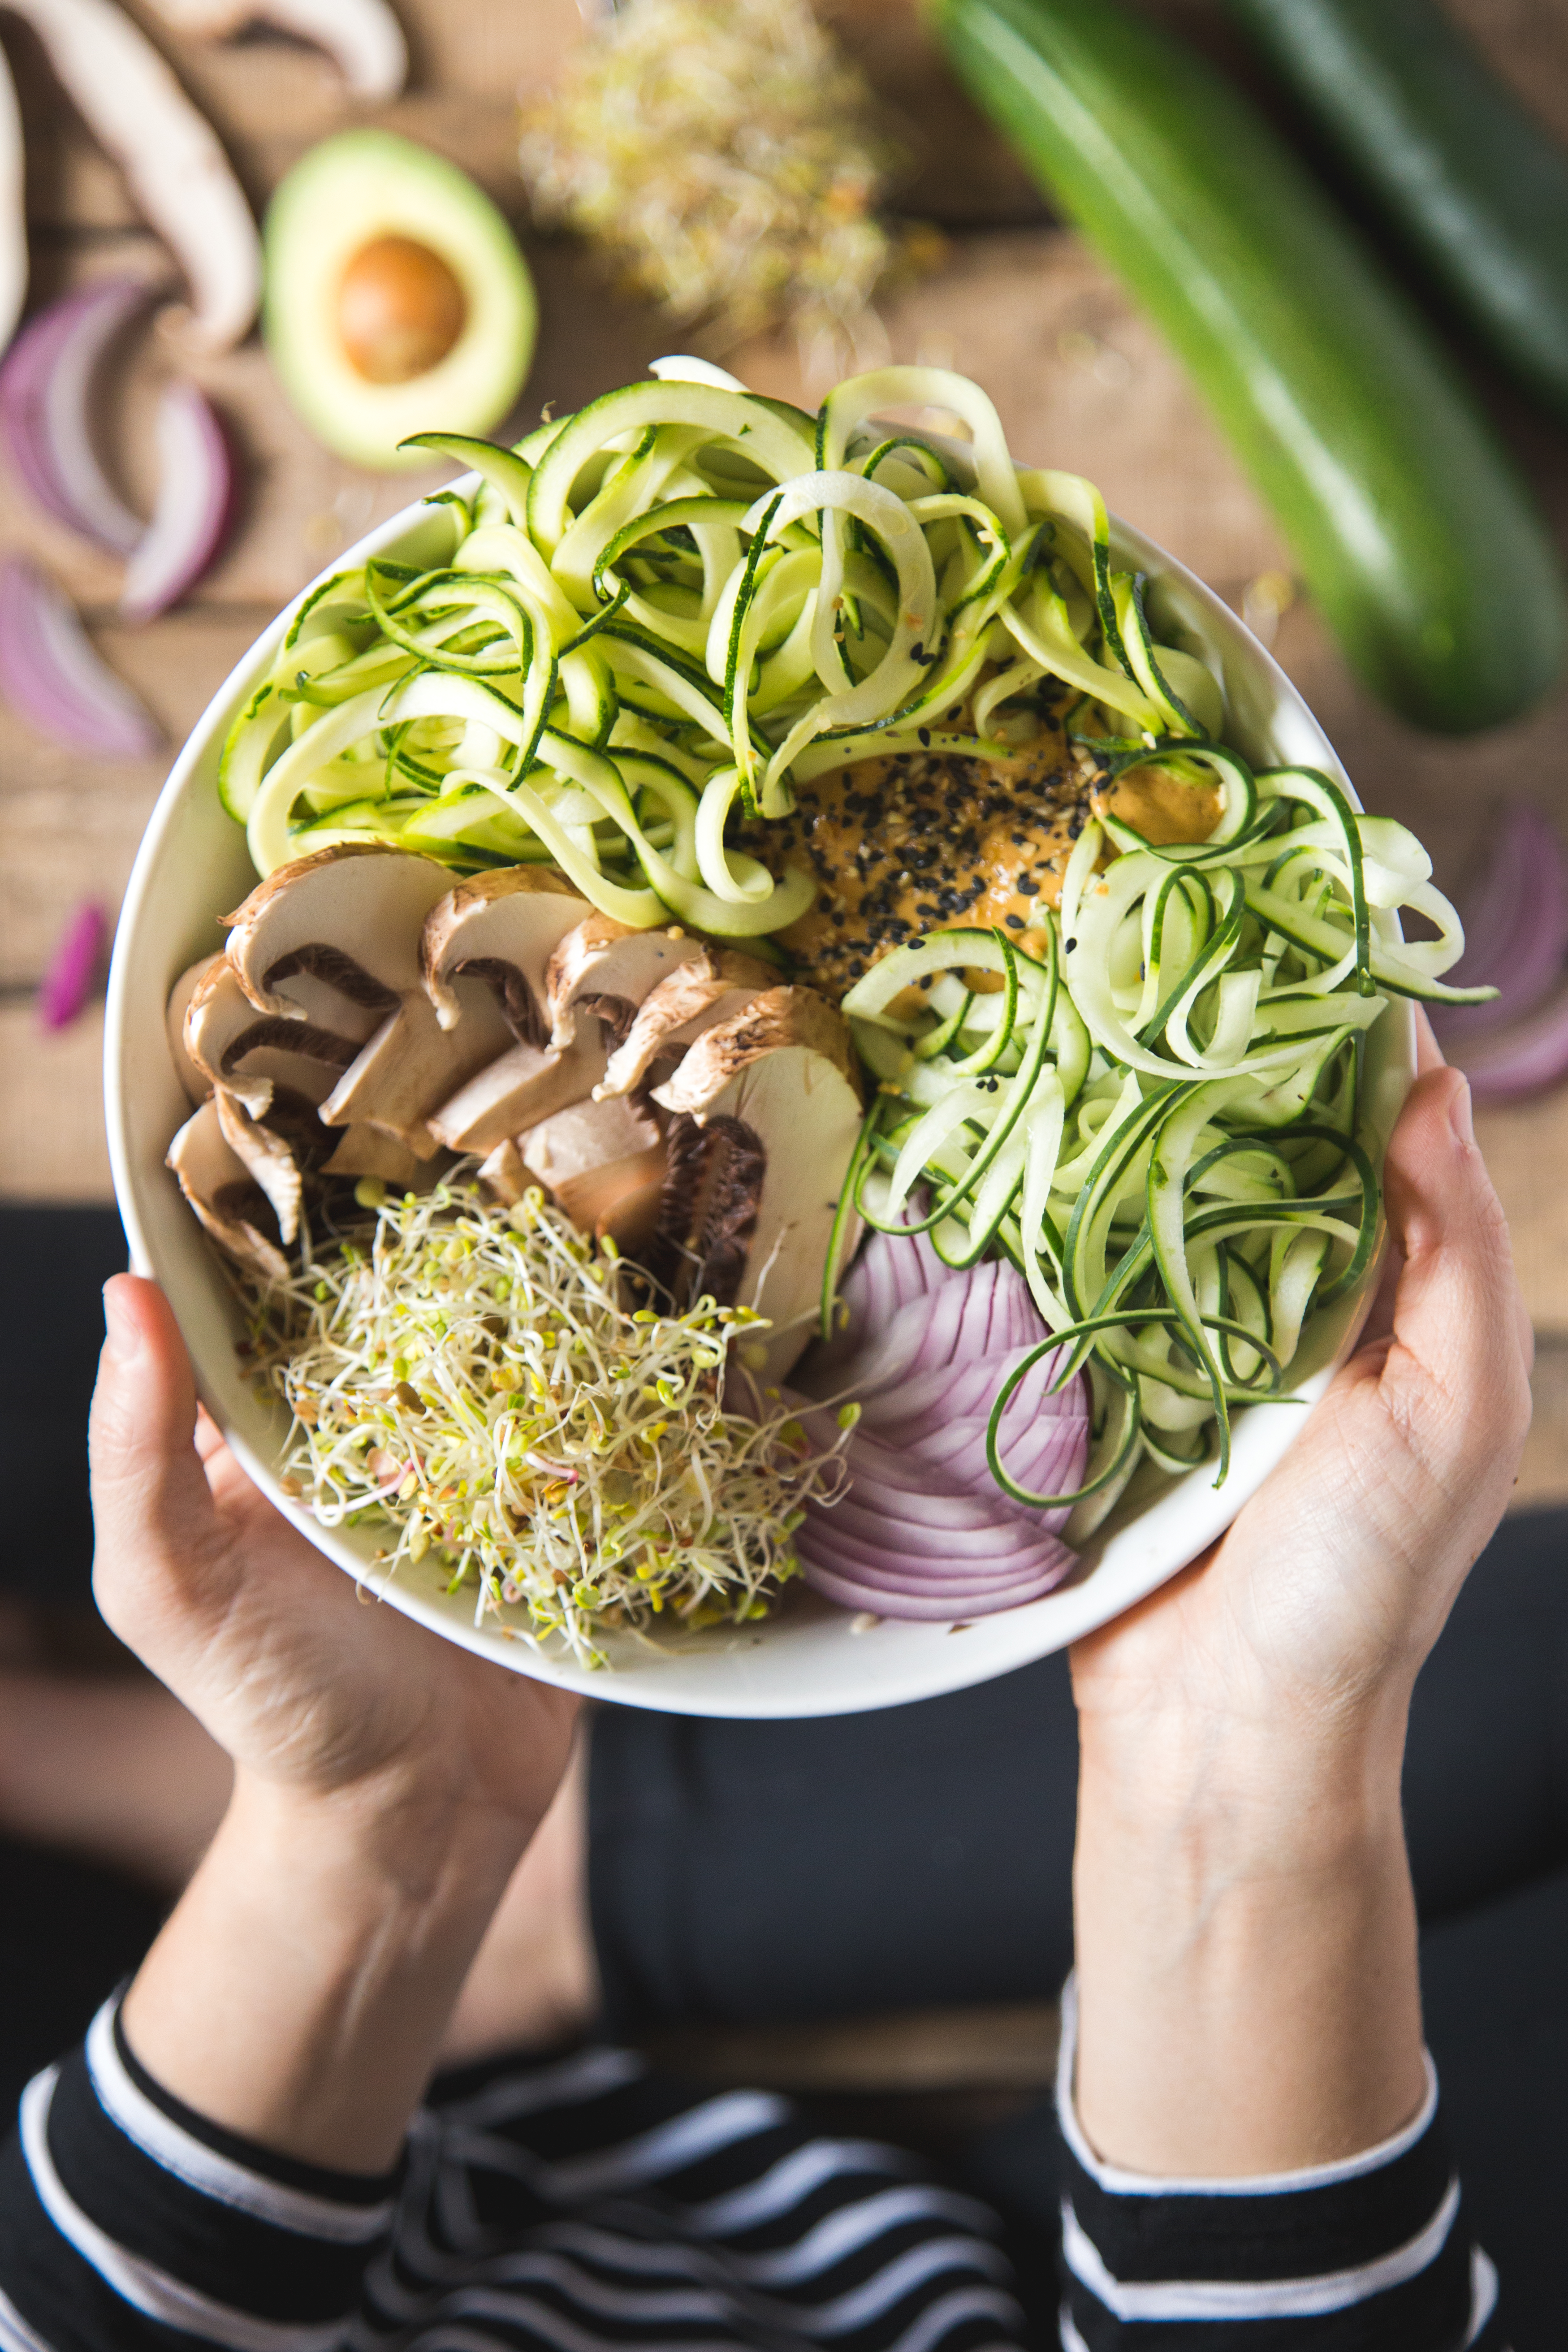
3. Try a shallow bowl. Fenley plates using shallow bowls (think about the bowl you serve gumbo in) rather than a flat plate to more easily style her food.
4. Shoot with natural light. Chachere shoots only in daytime with light from the kitchen window. If you’re new to photography, this is the easiest light to handle.
5. Get creative with backdrop materials. Many of Cultured Guru’s photos use individual tiles from Home Depot for a classy, neutral backdrop. Contact paper works too.
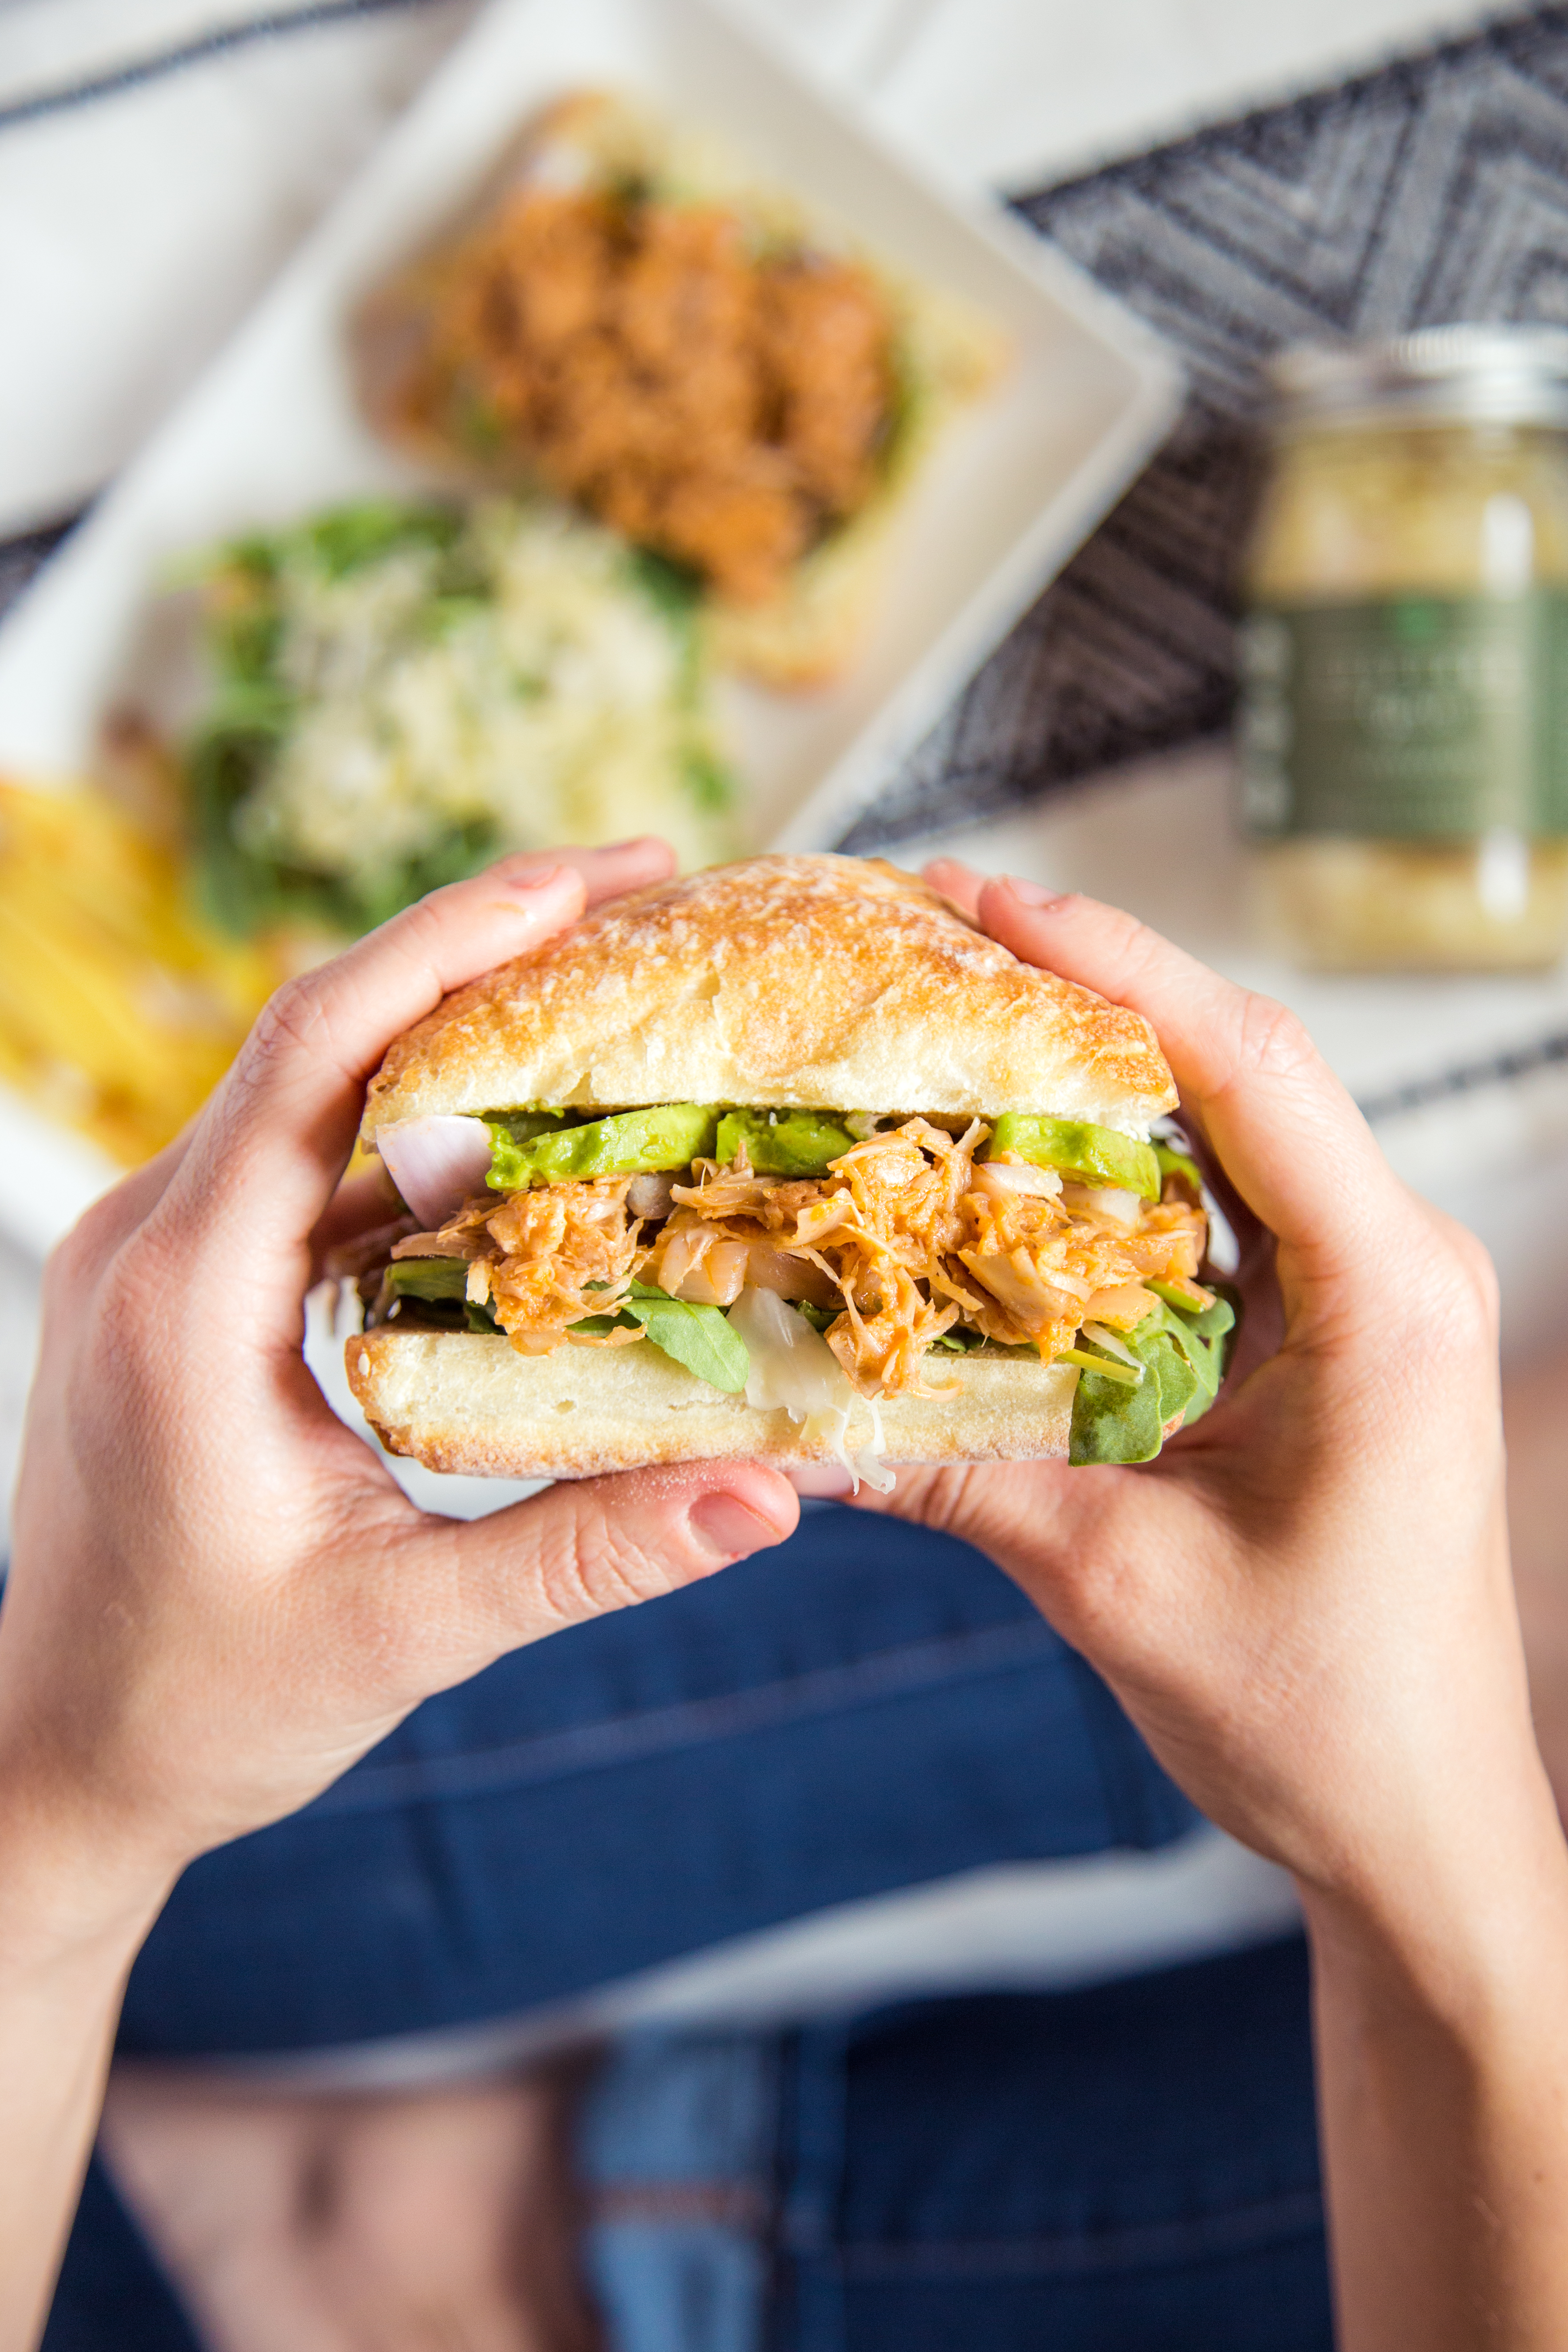
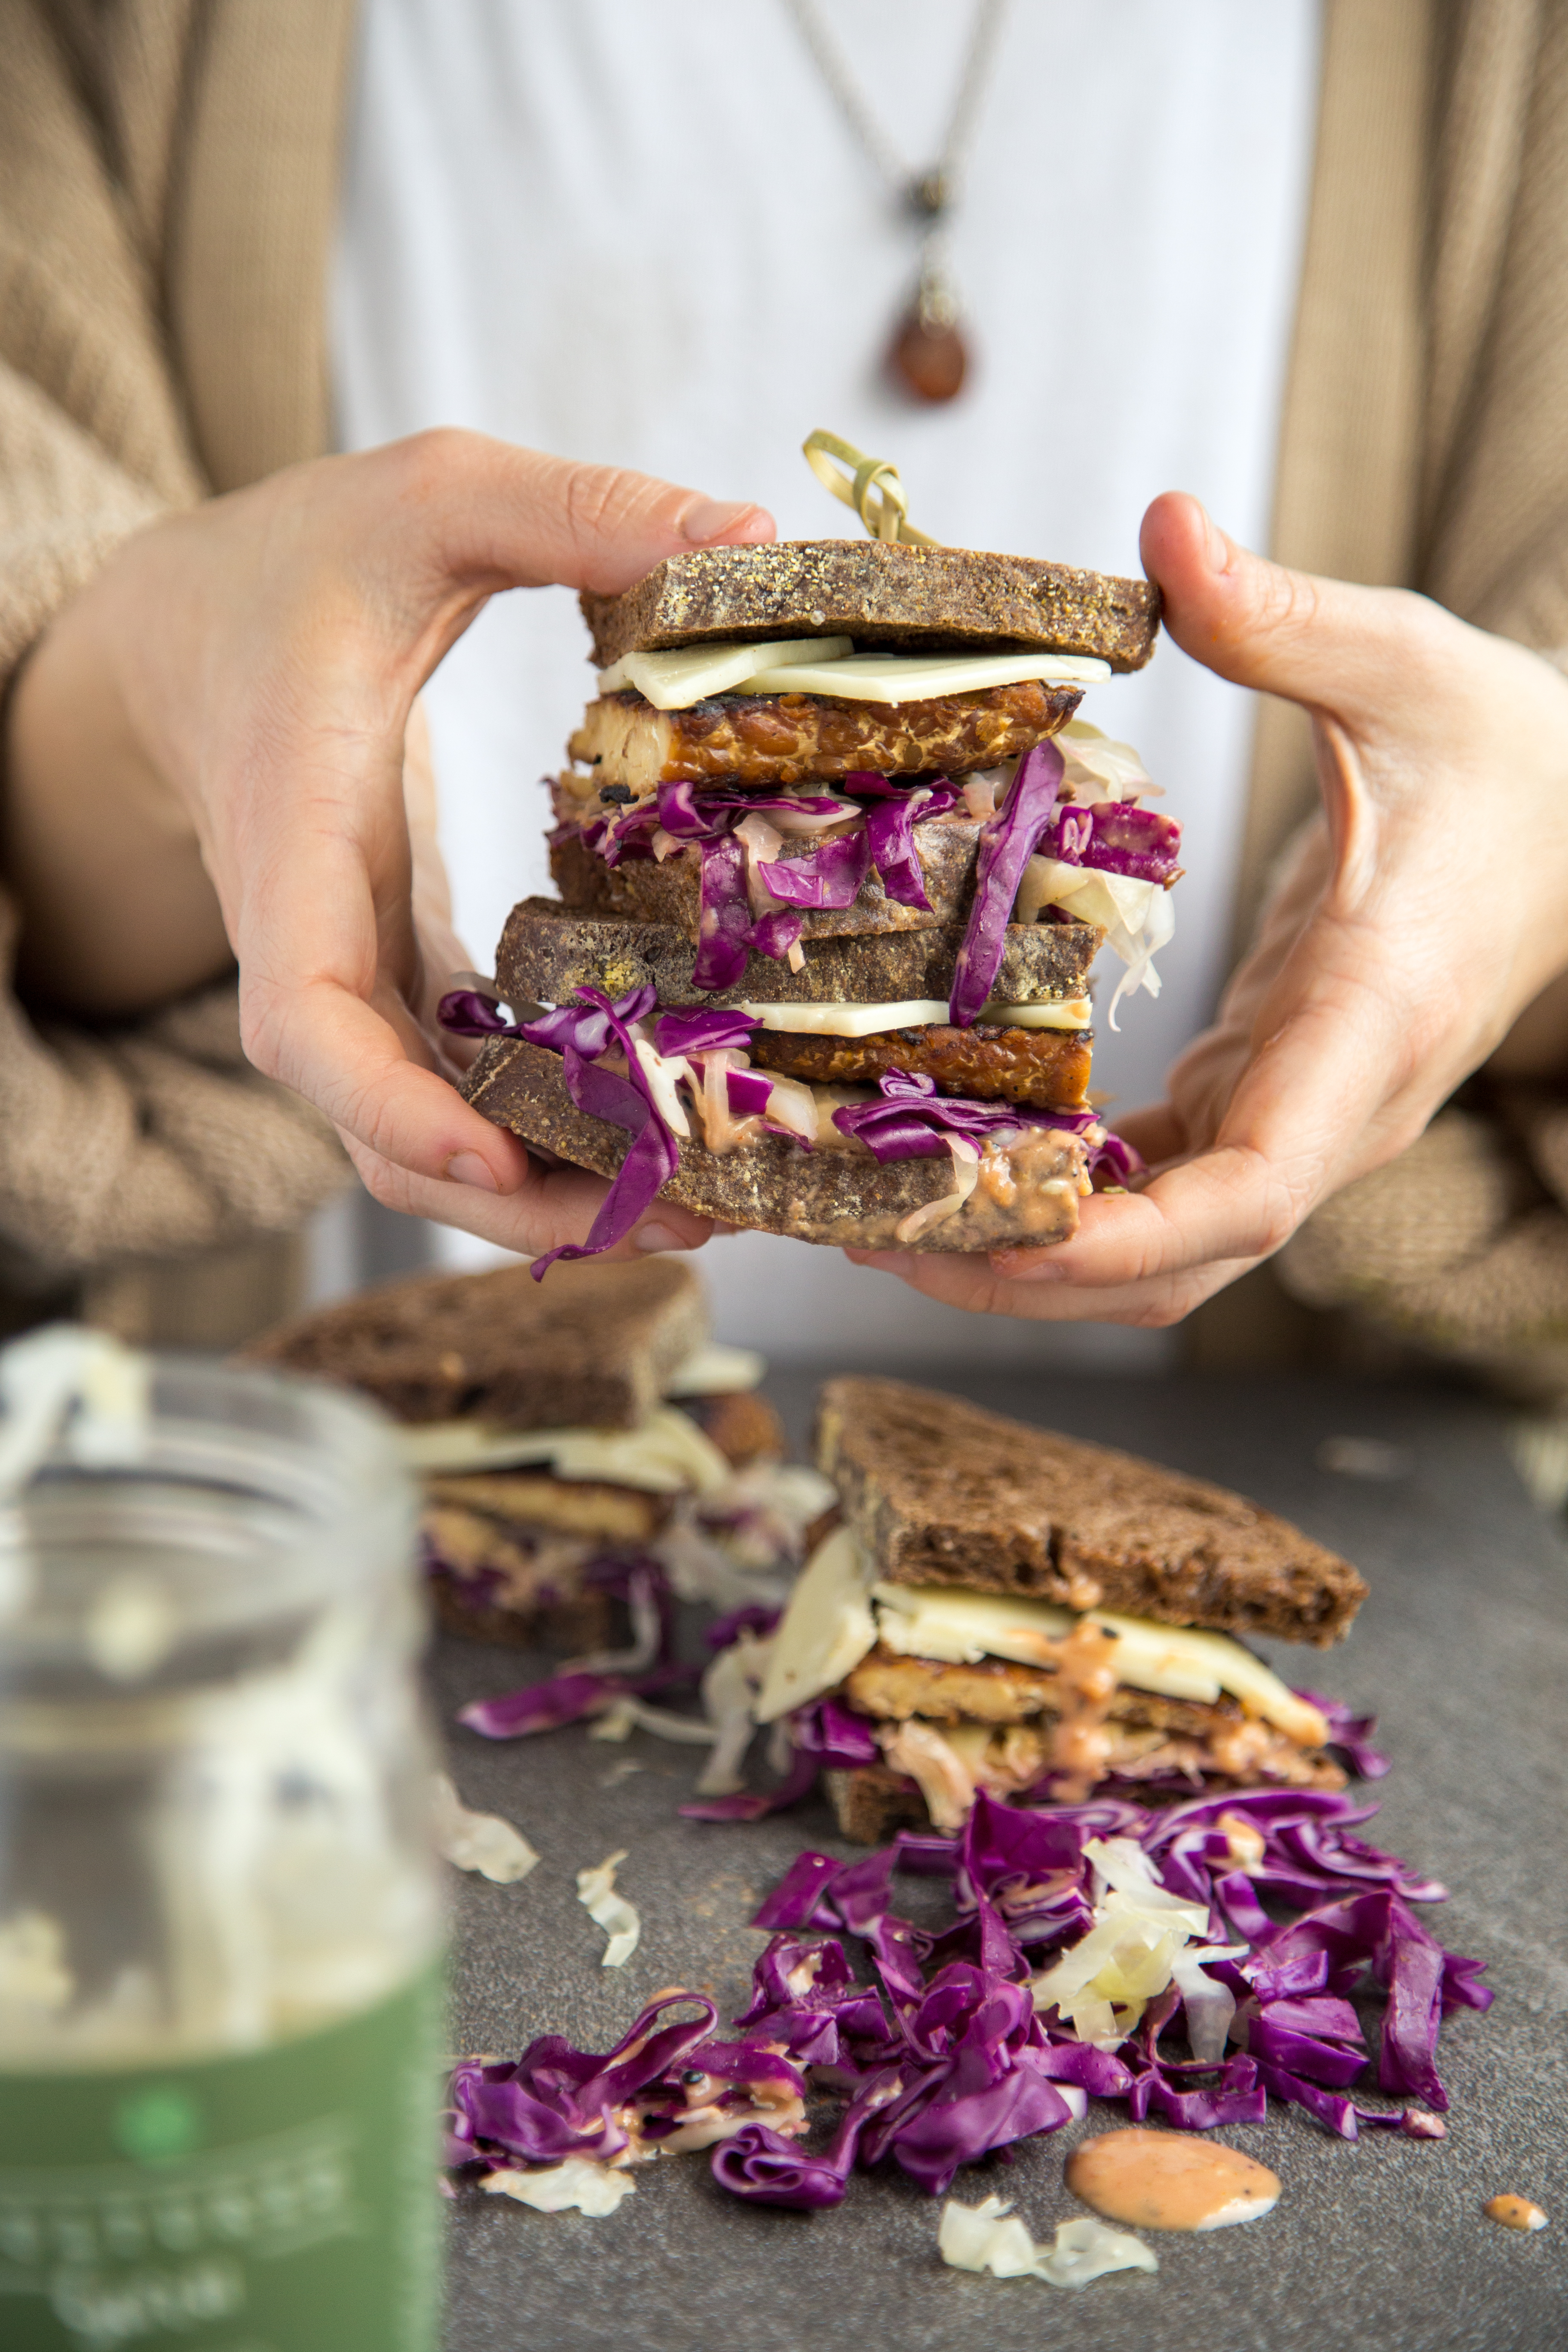
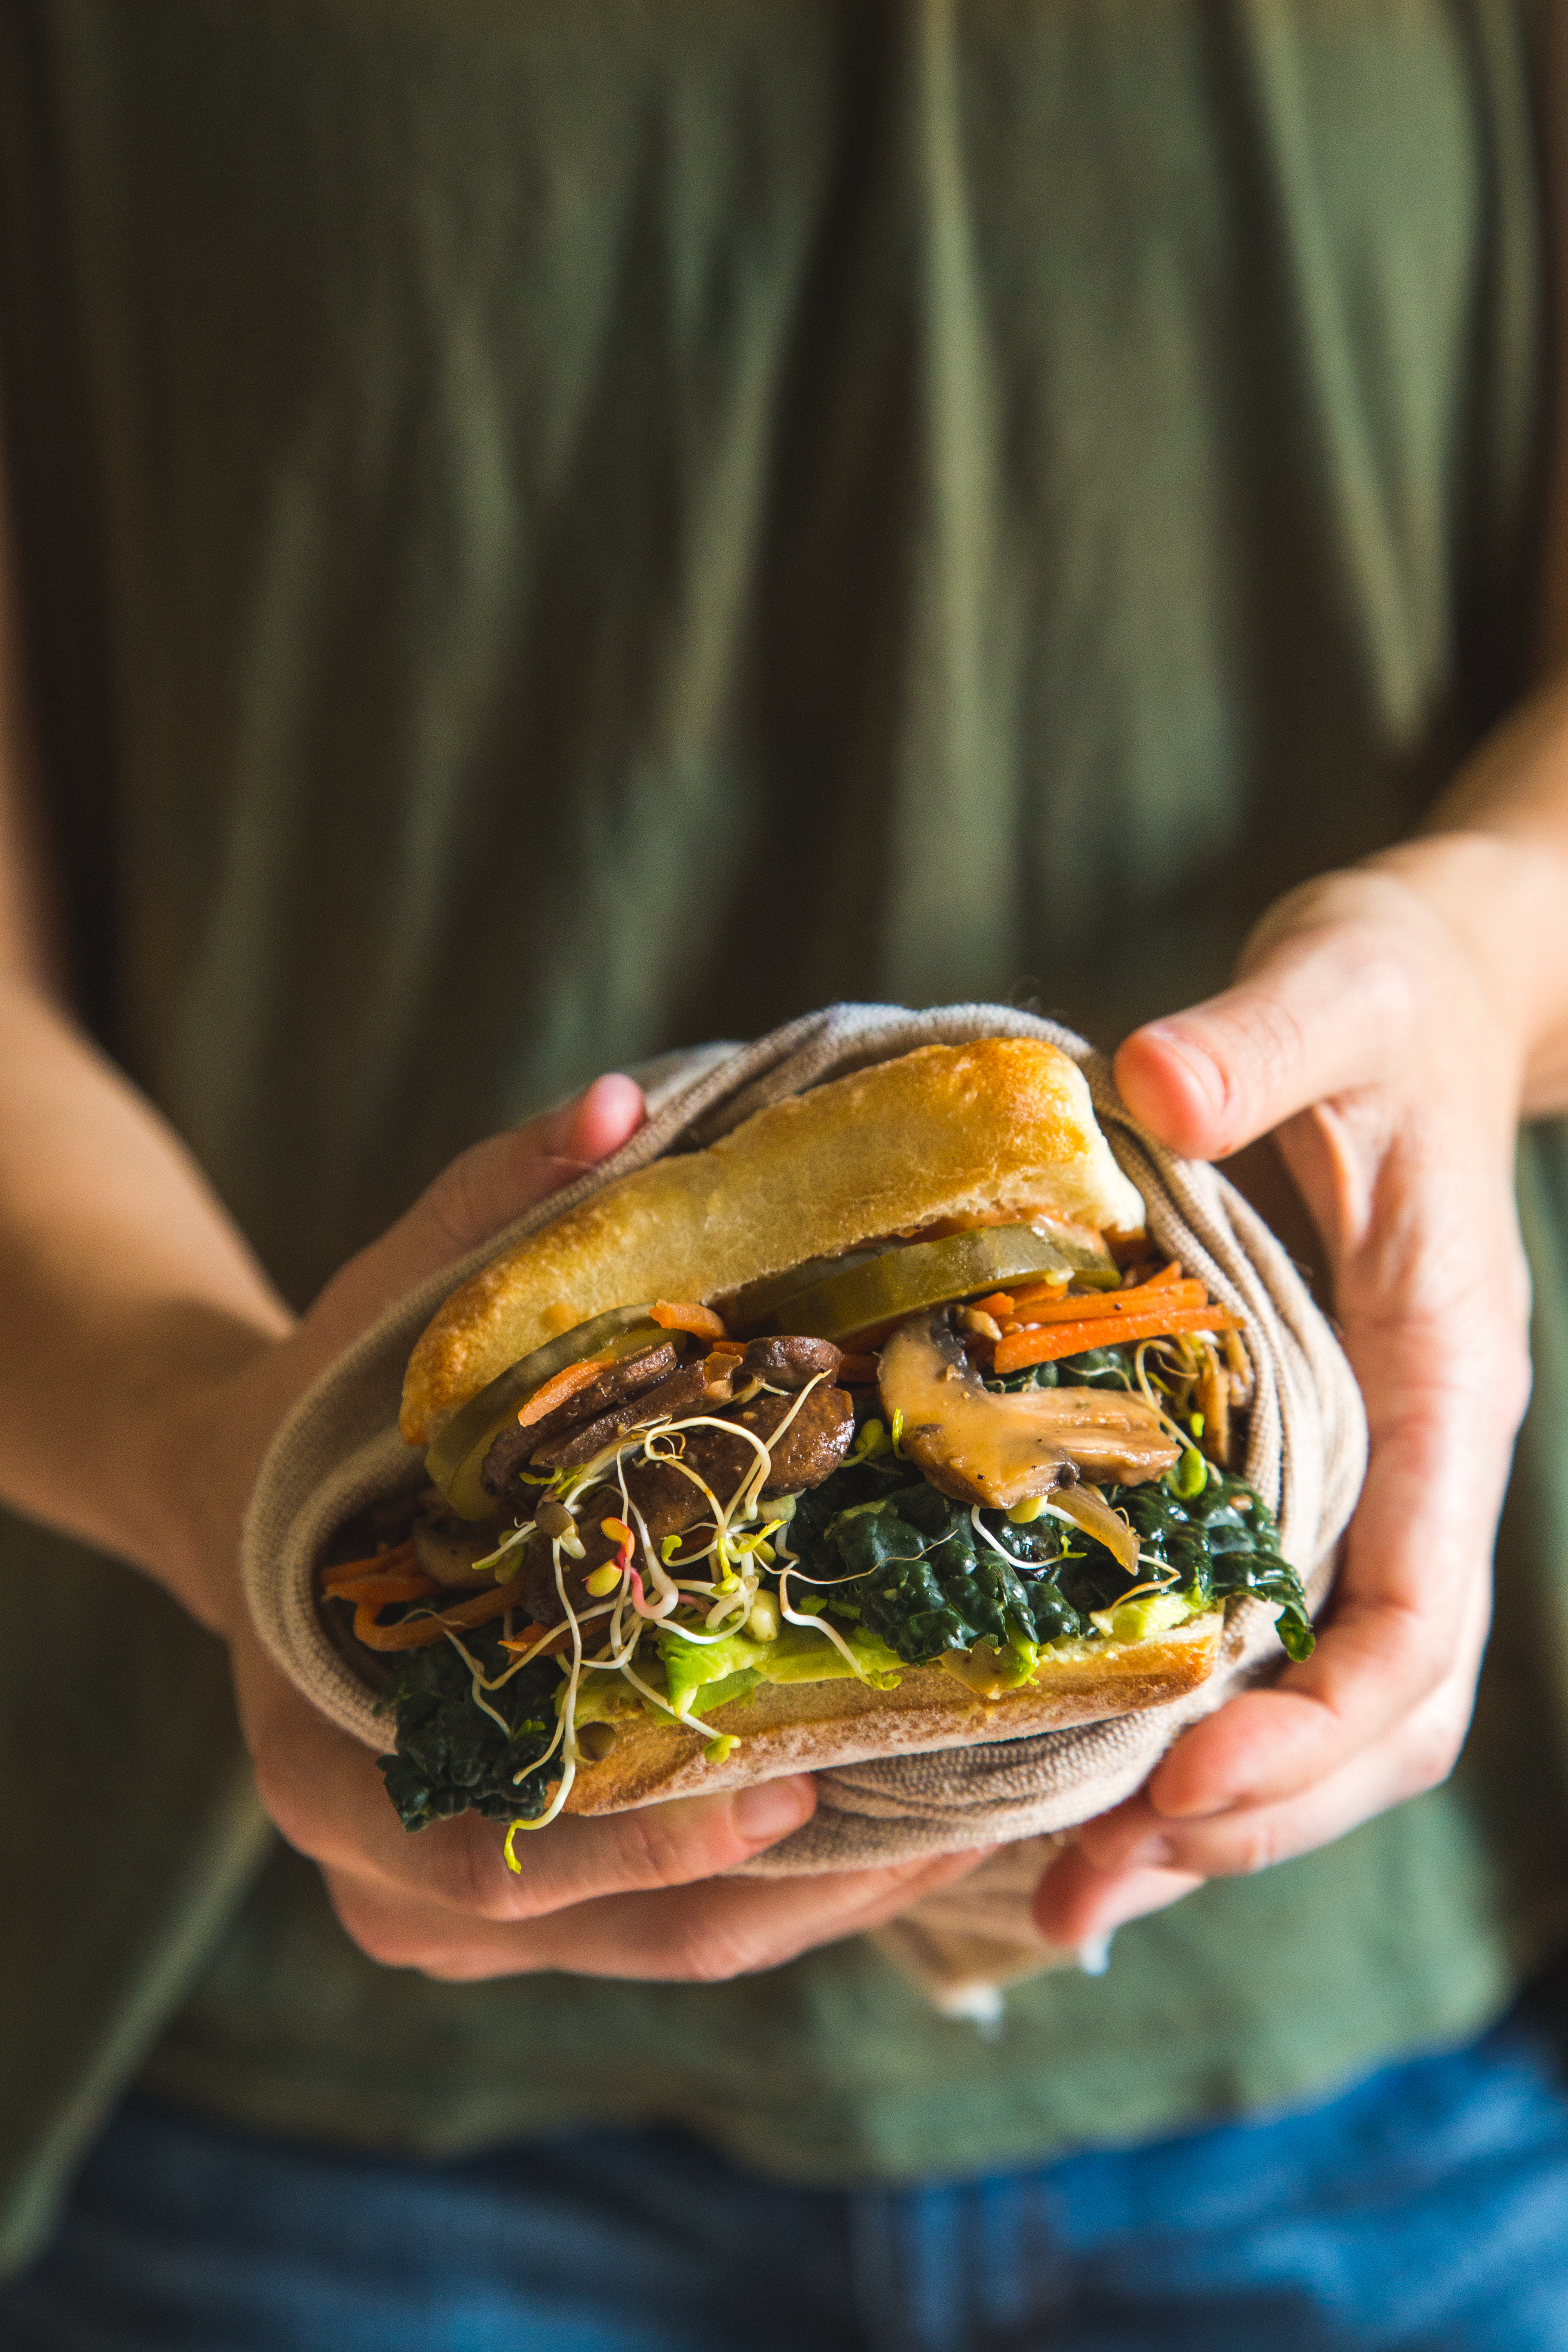
6. Stack sandwiches. No overhead shots for sammies: Slice them in half, stack the halves on top of each other and shoot them from the side.
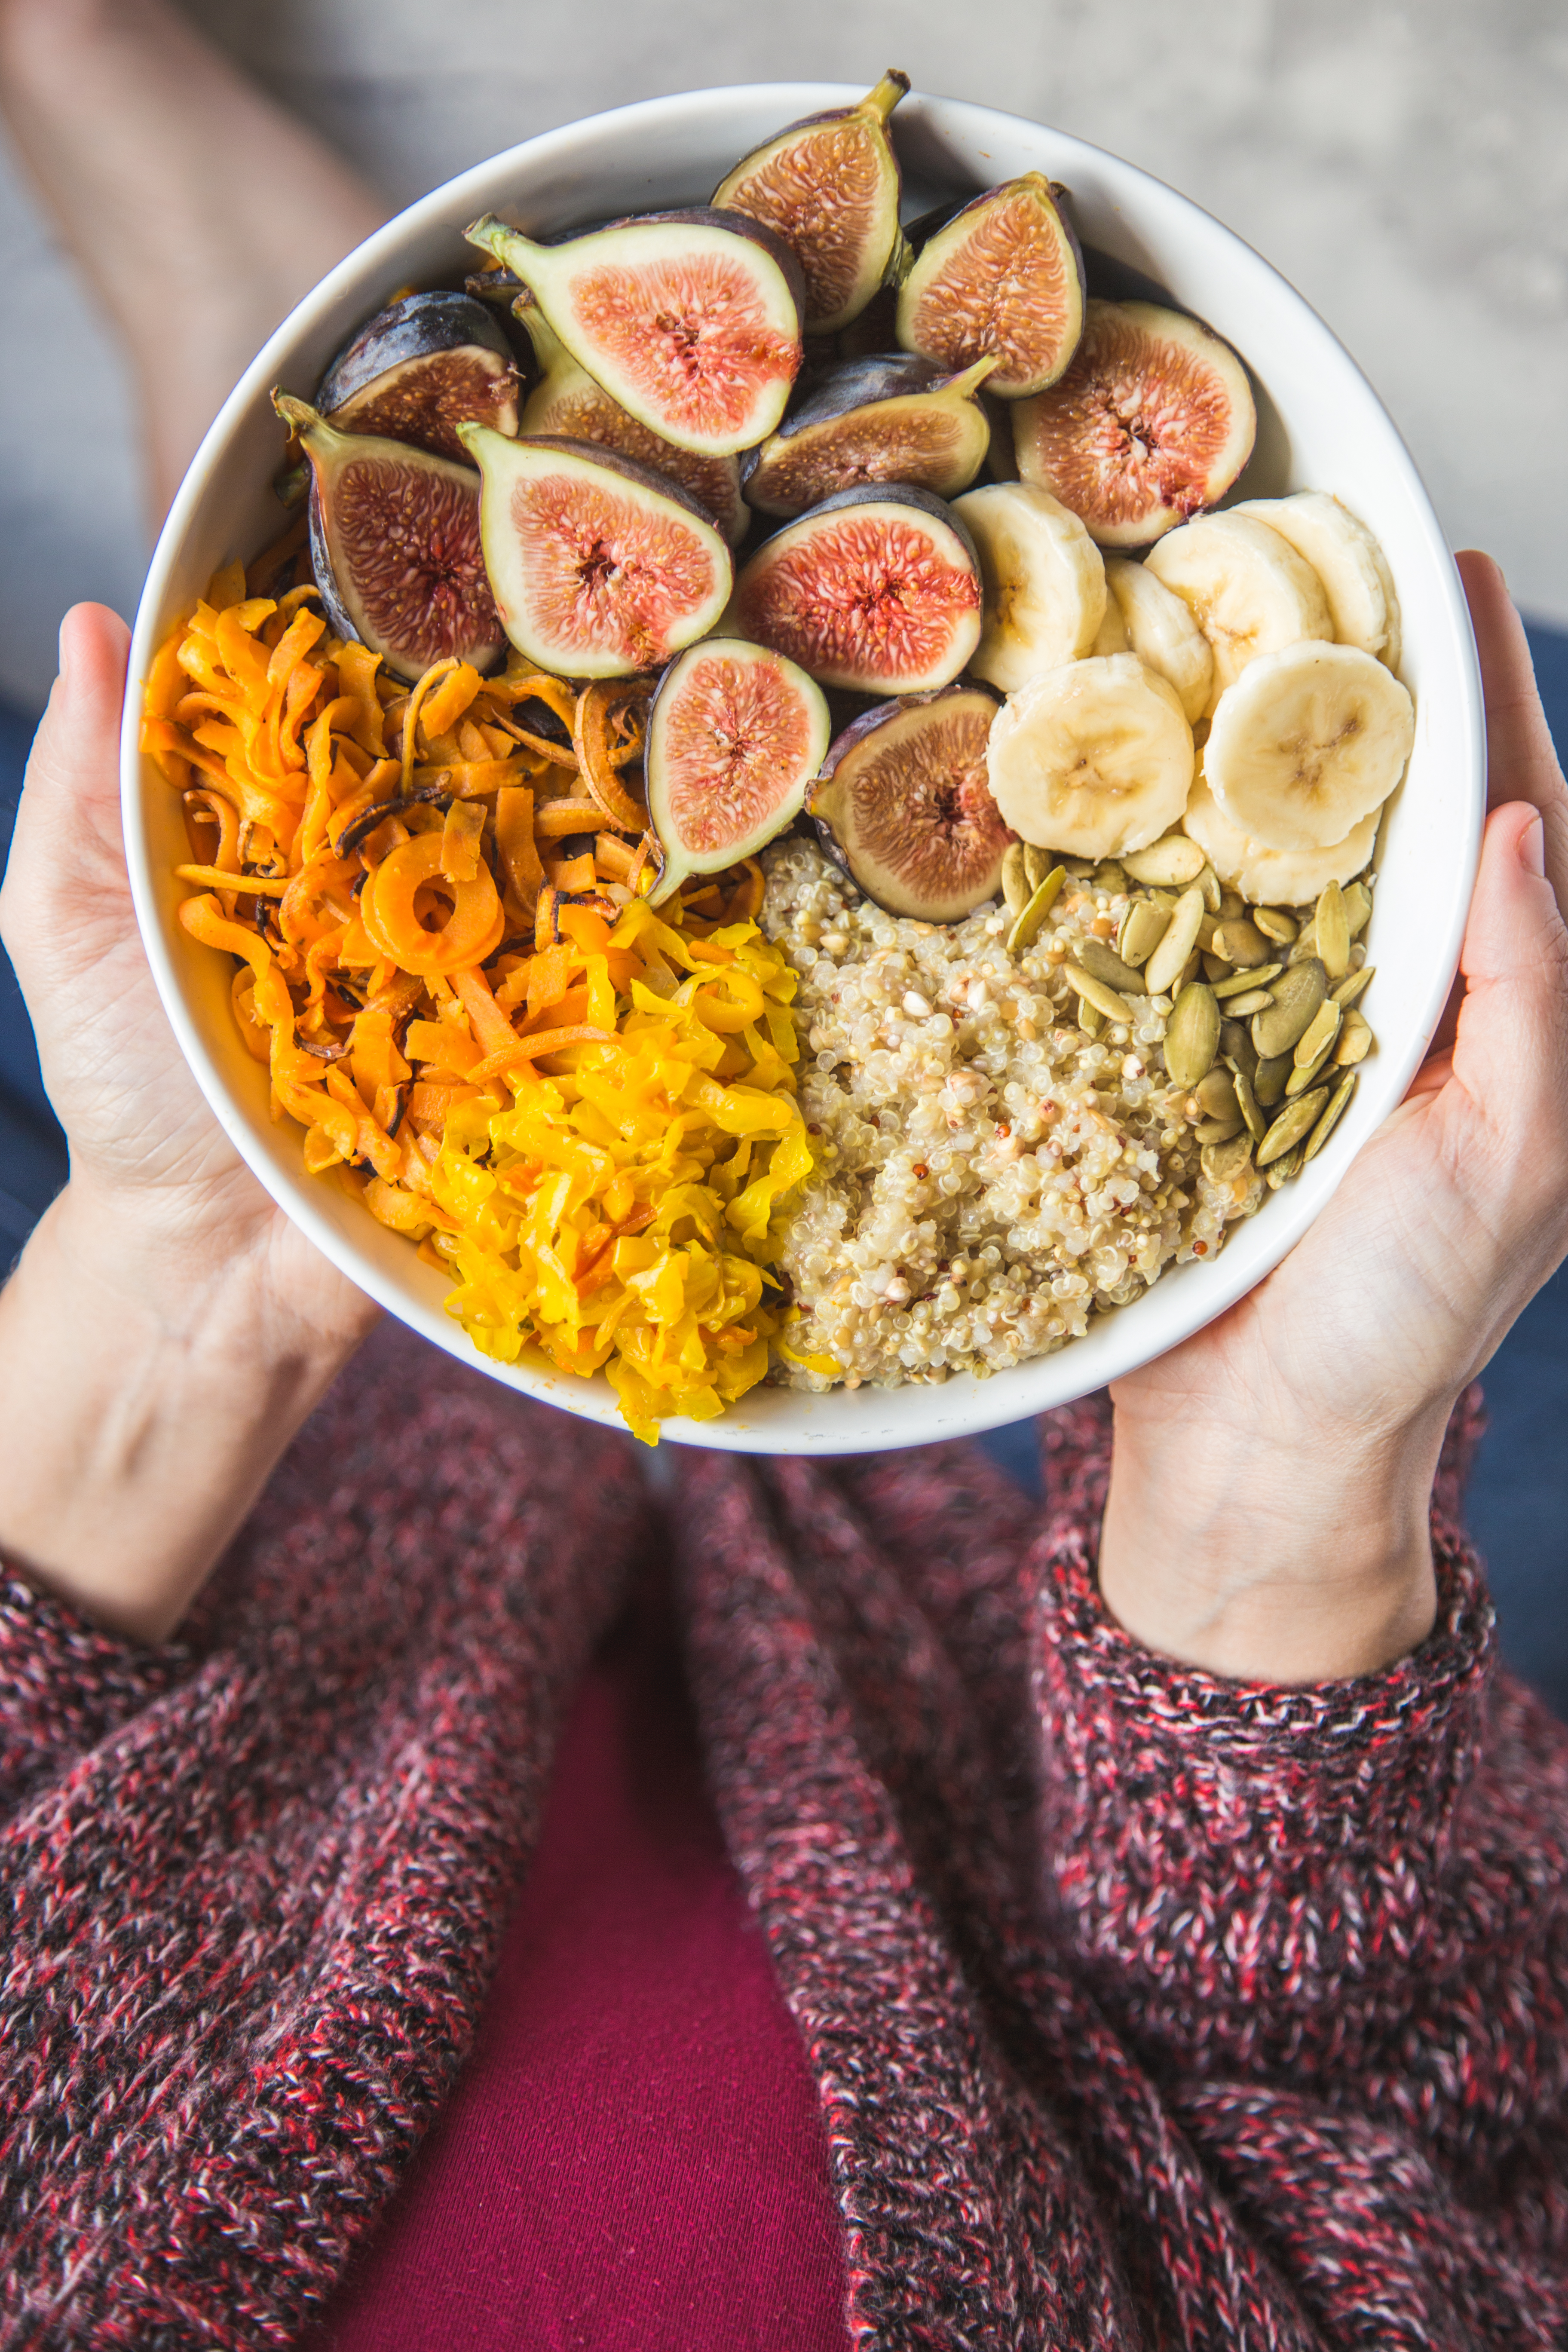
7. Mind your chopping. Fine chopping and spiralizing for raw ingredients elevates textures.
8. Look for lines.If you’re lacking visual interest, add lines using ingredients like citrus slices or turned-over mushroom caps.
9. Plan ahead. Build your shopping list around what you want to cook and present, and reuse the same ingredients in more than one dish.
10. Don’t get discouraged by the raw photo. Use an editing app like Snapseed to adjust white balance to get true whites and tweak other problems.
11. For less photogenic foods, sprucing up the background can be a gamechanger. Even a shirt with a nice texture or color behind your food can help.
12. Try a parfait. Layer smoothies, oatmeals and yogurts parfait-style to switch up your breakfast presentations.
13. Make multiple servings. Duplicates fill out your background—and provide enough to share or eat later.
14. Think outside the overhead-shot box. Don’t force an angle that’s not working. Shifting the camera a few degrees might reveal the perfect shot.
15. Reserve leftover raw ingredients.These are handy for filling out backgrounds with color.
Click here to read more from our Kitchen Confidential cover story.
This article was originally published in the December 2017 issue of 225 Magazine.